How to Use ESP32 for I2S Audio Playback and Recording with MAX98357A and INMP441
Introduction
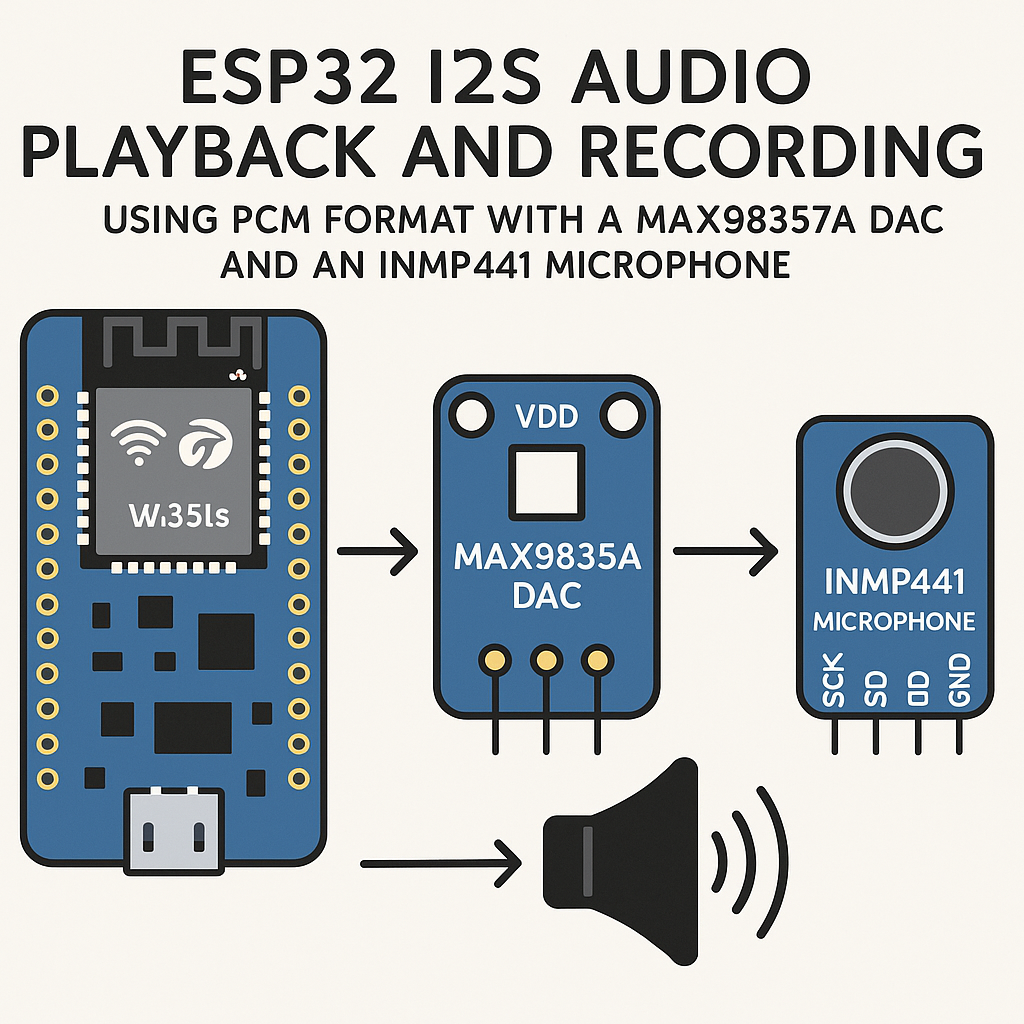
The ESP32 has a built-in I2S peripheral that handles digital audio without eating CPU cycles. Pair it with a MAX98357A amplifier/DAC for output and an INMP441 MEMS microphone for input, and you've got a capable little audio platform for under $15 in parts. Voice assistants, audio loggers, intercom systems—all doable.
One heads-up before we start: the I2S driver API changed significantly in Arduino ESP32 core v3.x (based on ESP-IDF v5.3+). The old i2s_driver_install() / i2s_read() functions are deprecated. This guide uses the current v3.x API throughout.
Prerequisites
- Basic C/C++ and Arduino programming experience
- ESP32 development board (ESP32-DevKitC, NodeMCU-32S, or similar)
- MAX98357A I2S DAC/amplifier breakout board
- INMP441 I2S MEMS microphone breakout board
- Arduino IDE 2.x with ESP32 board support v3.x installed, or PlatformIO v6.x
- A small speaker (4Ω or 8Ω, 2–3W) for the MAX98357A output
Parts/Tools
- 1x ESP32 development board
- 1x MAX98357A breakout
- 1x INMP441 breakout
- 1x small speaker (4Ω/8Ω)
- Jumper wires
- Breadboard
Steps
- Wiring the Components
- MAX98357A DAC connections:
Tip: the MAX98357A can run from 3.3V or 5V. At 3.3V you get lower max volume but cleaner operation. If you need more volume, use 5V from the USB rail—the I2S data lines are 3.3V-tolerant either way.MAX98357A ESP32 --------- ----- VIN 3.3V (or 5V for louder output) GND GND BCLK GPIO26 LRC GPIO25 DIN GPIO22 GAIN leave unconnected (15dB default) or tie to GND for 12dB SD leave unconnected (always on) - INMP441 microphone connections:
Watch out: the INMP441's L/R pin selects which channel the mic data appears on. If you leave it floating, you'll get intermittent data or silence on one channel. Always tie it to GND or 3.3V.INMP441 ESP32 ------- ----- VDD 3.3V GND GND SCK GPIO14 WS GPIO15 SD GPIO32 L/R GND (left channel) or 3.3V (right channel)
- MAX98357A DAC connections:
- Set Up the Arduino IDE
- In Arduino IDE 2.x, go to File > Preferences and add the ESP32 board manager URL if you haven't already:
Note: the URL changed with v3.x. The oldhttps://espressif.github.io/arduino-esp32/package_esp32_index.jsondl.espressif.comURL points to the legacy v2.x core. - Go to Tools > Board > Boards Manager, search for "esp32" by Espressif, and install v3.x.
- Select your board under Tools > Board > ESP32 Arduino > ESP32 Dev Module (or your specific variant).
- In Arduino IDE 2.x, go to File > Preferences and add the ESP32 board manager URL if you haven't already:
- Install Required Libraries
- The I2S driver is built into the ESP32 core—no separate library needed.
- For playing audio from SD card or SPIFFS, install the "ESP8266Audio" library by Earle Philhower from the Library Manager. Despite the name, it fully supports ESP32 and handles MP3, WAV, FLAC, and other formats.
- Write the Playback Code
- Here's a minimal example using the ESP-IDF v5.3+ style I2S driver (exposed through the Arduino ESP32 v3.x core):
#include "driver/i2s_std.h"
#include "driver/gpio.h"

i2s_chan_handle_t tx_handle;

void setupI2SOutput() {
    i2s_chan_config_t chan_cfg = I2S_CHANNEL_DEFAULT_CONFIG(
        I2S_NUM_0, I2S_ROLE_MASTER);
    i2s_new_channel(&chan_cfg, &tx_handle, NULL);

    i2s_std_config_t std_cfg = {
        .clk_cfg = I2S_STD_CLK_DEFAULT_CONFIG(44100),
        .slot_cfg = I2S_STD_PHILIPS_SLOT_DEFAULT_CONFIG(
            I2S_DATA_BIT_WIDTH_16BIT, I2S_SLOT_MODE_MONO),
        .gpio_cfg = {
            .mclk = I2S_GPIO_UNUSED,
            .bclk = GPIO_NUM_26,
            .ws   = GPIO_NUM_25,
            .dout = GPIO_NUM_22,
            .din  = I2S_GPIO_UNUSED,
        },
    };
    i2s_channel_init_std_mode(tx_handle, &std_cfg);
    i2s_channel_enable(tx_handle);
}

void playBuffer(const int16_t *samples, size_t numSamples) {
    size_t bytesWritten;
    i2s_channel_write(tx_handle, samples,
                      numSamples * sizeof(int16_t),
                      &bytesWritten, portMAX_DELAY);
}
- Here's a minimal example using the ESP-IDF v5.3+ style I2S driver (exposed through the Arduino ESP32 v3.x core):
- Write the Recording Code
- The INMP441 uses a separate I2S peripheral (I2S_NUM_1) so playback and recording can run simultaneously:
Gotcha: the INMP441 outputs 32-bit words but the actual audio data sits in the upper 24 bits. If your audio sounds extremely quiet, you're probably treating the raw 32-bit value as the sample. Right-shift by 8 or 14 (depending on your target bit depth) to get usable levels.i2s_chan_handle_t rx_handle; void setupI2SInput() { i2s_chan_config_t chan_cfg = I2S_CHANNEL_DEFAULT_CONFIG( I2S_NUM_1, I2S_ROLE_MASTER); i2s_new_channel(&chan_cfg, NULL, &rx_handle); i2s_std_config_t std_cfg = { .clk_cfg = I2S_STD_CLK_DEFAULT_CONFIG(16000), .slot_cfg = I2S_STD_PHILIPS_SLOT_DEFAULT_CONFIG( I2S_DATA_BIT_WIDTH_32BIT, I2S_SLOT_MODE_MONO), .gpio_cfg = { .mclk = I2S_GPIO_UNUSED, .bclk = GPIO_NUM_14, .ws = GPIO_NUM_15, .dout = I2S_GPIO_UNUSED, .din = GPIO_NUM_32, }, }; i2s_channel_init_std_mode(rx_handle, &std_cfg); i2s_channel_enable(rx_handle); } void recordBuffer(int32_t *buffer, size_t bufferSize) { size_t bytesRead; i2s_channel_read(rx_handle, buffer, bufferSize, &bytesRead, portMAX_DELAY); // INMP441 sends 32-bit samples, but only the upper 24 bits // contain actual data. Shift right by 8 if you need 24-bit values. }
- The INMP441 uses a separate I2S peripheral (I2S_NUM_1) so playback and recording can run simultaneously:
- Upload and Test
- Call
setupI2SOutput()andsetupI2SInput()from yoursetup()function. - For a quick loopback test, read from the mic and write directly to the speaker:
void loop() { int32_t buffer[512]; int16_t outBuffer[512]; size_t bytesRead; i2s_channel_read(rx_handle, buffer, sizeof(buffer), &bytesRead, portMAX_DELAY); // Convert 32-bit mic samples to 16-bit for the DAC int samplesRead = bytesRead / sizeof(int32_t); for (int i = 0; i < samplesRead; i++) { outBuffer[i] = (int16_t)(buffer[i] >> 14); } size_t bytesWritten; i2s_channel_write(tx_handle, outBuffer, samplesRead * sizeof(int16_t), &bytesWritten, portMAX_DELAY); } - Upload via USB. You should hear your voice through the speaker with about 20–50ms of latency. If there's a noticeable echo or feedback, reduce the speaker volume or increase the physical distance between mic and speaker.
- Call
Troubleshooting
- No sound from the speaker: Check the BCLK/LRC/DIN wiring first—swapped BCLK and LRC is the most common mistake. Verify the MAX98357A's SD (shutdown) pin isn't being pulled low. Measure 3.3V or 5V on VIN.
- Mic returns all zeros: Confirm the L/R pin is tied to GND or VDD (not floating). Check that you're using I2S_DATA_BIT_WIDTH_32BIT in the mic config—the INMP441 requires 32-bit slot width even though it only outputs 24 bits of data.
- Audio sounds distorted or garbled: Sample rate mismatch between config and actual audio data. Also check that you're not accidentally using the old deprecated I2S API mixed with the new one—they don't play well together.
- Compile errors about I2S functions: Make sure you're on ESP32 Arduino core v3.x. The
driver/i2s_std.hheader doesn't exist in v2.x. If you're stuck on v2.x for compatibility reasons, you'll need to use the legacydriver/i2s.hAPI instead. - ESP32 not recognized by Arduino IDE: Install the correct USB-to-serial driver for your board's chip (CP2102 or CH340). On macOS, the CH340 driver sometimes conflicts—check System Settings > Privacy & Security if the driver was blocked.
What's Next
With I2S input and output working, you have the foundation for more interesting projects. Try recording to an SD card in WAV format, streaming audio over Wi-Fi, or feeding mic data into a wake-word detection library like ESP-SR. The ESP32's dual cores are handy here—run your I2S audio on core 1 and your application logic on core 0 using FreeRTOS task pinning via xTaskCreatePinnedToCore().