How to Set Up ESP32 Wi-Fi and HTTP Server for DHT11 Temperature Data
Why an HTTP Server on an ESP32?
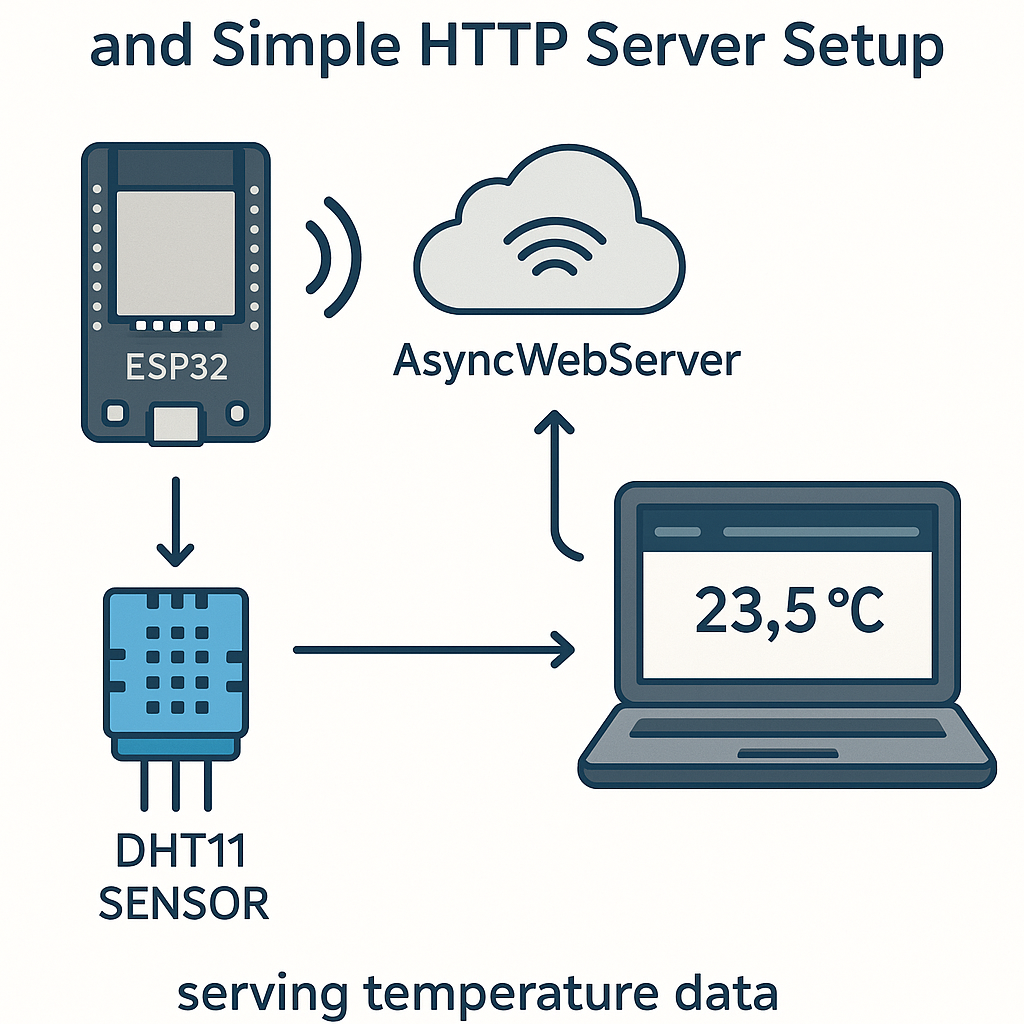
Sometimes you want sensor data accessible from any device on your network—no app installs, no Bluetooth pairing, just hit a URL and get a JSON response. The ESP32's Wi-Fi stack combined with the ESPAsyncWebServer library makes this dead simple. You'll have a REST endpoint serving live DHT11 temperature and humidity data in under 30 minutes.
This approach is perfect for quick dashboards, home automation integrations, or feeding data into tools like Node-RED, Grafana, or Home Assistant.
Prerequisites
- Arduino IDE 2.x with the ESP32 board package (v3.x of the Arduino ESP32 core)
- A Wi-Fi network your ESP32 can reach
- Comfort reading basic Arduino C++ code
Parts/Tools
- ESP32 development board
- DHT11 temperature/humidity sensor (or a DHT22 if you want better accuracy—same code, just change the sensor type constant)
- Jumper wires
- Breadboard (optional)
Steps
- Install the libraries
Open the Library Manager in Arduino IDE 2.x and install:
- ESPAsyncWebServer by ESP Async (if it's not in the Library Manager, grab it from the GitHub repo and install as a ZIP)
- AsyncTCP (required dependency for ESPAsyncWebServer on ESP32)
- DHT sensor library by Adafruit (plus Adafruit Unified Sensor when prompted)
Heads up: the ESPAsyncWebServer library has gone through a few forks over the years. For ESP32 Arduino core v3.x, make sure you're using a compatible fork. The ESP32Async/ESPAsyncWebServer fork on GitHub is currently the most actively maintained one.
- Wire the DHT11
Three wires:
- VCC to 3.3V on ESP32
- GND to GND on ESP32
- DATA to GPIO 4 on ESP32
If you're using a bare DHT11 (not a breakout board), add a 10k pull-up resistor between the data pin and 3.3V.
- Write the code
Here's the complete sketch. Drop in your Wi-Fi credentials and upload:
#include <WiFi.h>
#include <ESPAsyncWebServer.h>
#include <DHT.h>

const char* ssid = "YOUR_SSID";
const char* password = "YOUR_PASSWORD";

#define DHTPIN 4
#define DHTTYPE DHT11
DHT dht(DHTPIN, DHTTYPE);

AsyncWebServer server(80);

void setup() {
    Serial.begin(115200);
    dht.begin();

    WiFi.begin(ssid, password);
    Serial.print("Connecting to Wi-Fi");
    while (WiFi.status() != WL_CONNECTED) {
        delay(500);
        Serial.print(".");
    }
    Serial.println();
    Serial.print("Connected! IP: ");
    Serial.println(WiFi.localIP());

    server.on("/temperature", HTTP_GET, [](AsyncWebServerRequest *request) {
        float t = dht.readTemperature();
        float h = dht.readHumidity();

        if (isnan(t) || isnan(h)) {
            request->send(500, "application/json", "{\"error\": \"Sensor read failed\"}");
            return;
        }

        String json = "{\"temperature\": " + String(t, 1) +
                      ", \"humidity\": " + String(h, 1) + "}";
        request->send(200, "application/json", json);
    });

    server.on("/", HTTP_GET, [](AsyncWebServerRequest *request) {
        request->send(200, "text/plain", "ESP32 Sensor Server. GET /temperature for data.");
    });

    server.begin();
    Serial.println("HTTP server started.");
}

void loop() {
    // AsyncWebServer handles requests in the background
}
A few things I want to call out:
- The code returns proper error JSON with a 500 status when the sensor read fails. In the original version, bad reads would silently serve NaN values—not helpful for any client consuming this API.
- The root endpoint (
/) returns a simple text response so you can quickly verify the server is running. - The
loop()function is intentionally empty. AsyncWebServer runs on its own task under the hood, so you don't need to poll for requests.
- Upload and verify
Select your board and port under Tools, then upload. Open Serial Monitor at 115200 baud and wait for the IP address to print.
- Access the data
Open a browser and go to
http://<ESP32_IP>/temperature. You should get back a JSON response like:{"temperature": 24.5, "humidity": 61.0}You can also use
curlfrom a terminal or hit this endpoint from any HTTP client. It's a standard REST response.
Troubleshooting
- Wi-Fi won't connect: Double-check SSID and password (case-sensitive). Make sure your network is 2.4GHz—the ESP32 doesn't support 5GHz Wi-Fi. If it's been connecting fine and suddenly stops, your router might be filtering new MAC addresses.
- Sensor returns NaN or errors: Check your wiring. The DHT11 is picky about timing—if you're also running other interrupt-heavy code, it can cause read failures. Adding a small delay between reads (the library recommends at least 2 seconds between DHT reads) helps.
- Can't reach the server from your browser: Make sure your computer and the ESP32 are on the same network. Check the Serial Monitor for the correct IP. Some corporate/campus networks isolate devices from each other—try a simple home router if you hit this.
- Compile errors with AsyncWebServer: This is almost always a library version mismatch. With ESP32 Arduino core v3.x, make sure you're using the ESP32Async fork, not the older me-no-dev version.
Next Steps
You've got a working REST API on a microcontroller. From here you could add more endpoints for other sensors, serve a simple HTML dashboard directly from the ESP32 (SPIFFS or LittleFS for static files), or push data to an MQTT broker for integration with Home Assistant. If this will be running long-term, consider adding Wi-Fi reconnection logic and maybe mDNS so you can reach it at http://esp32-sensor.local instead of hunting for IP addresses.