How to Set Up ESP32 BLE GATT Server for DHT22 Sensor Data Transmission
Why BLE for Sensor Data?
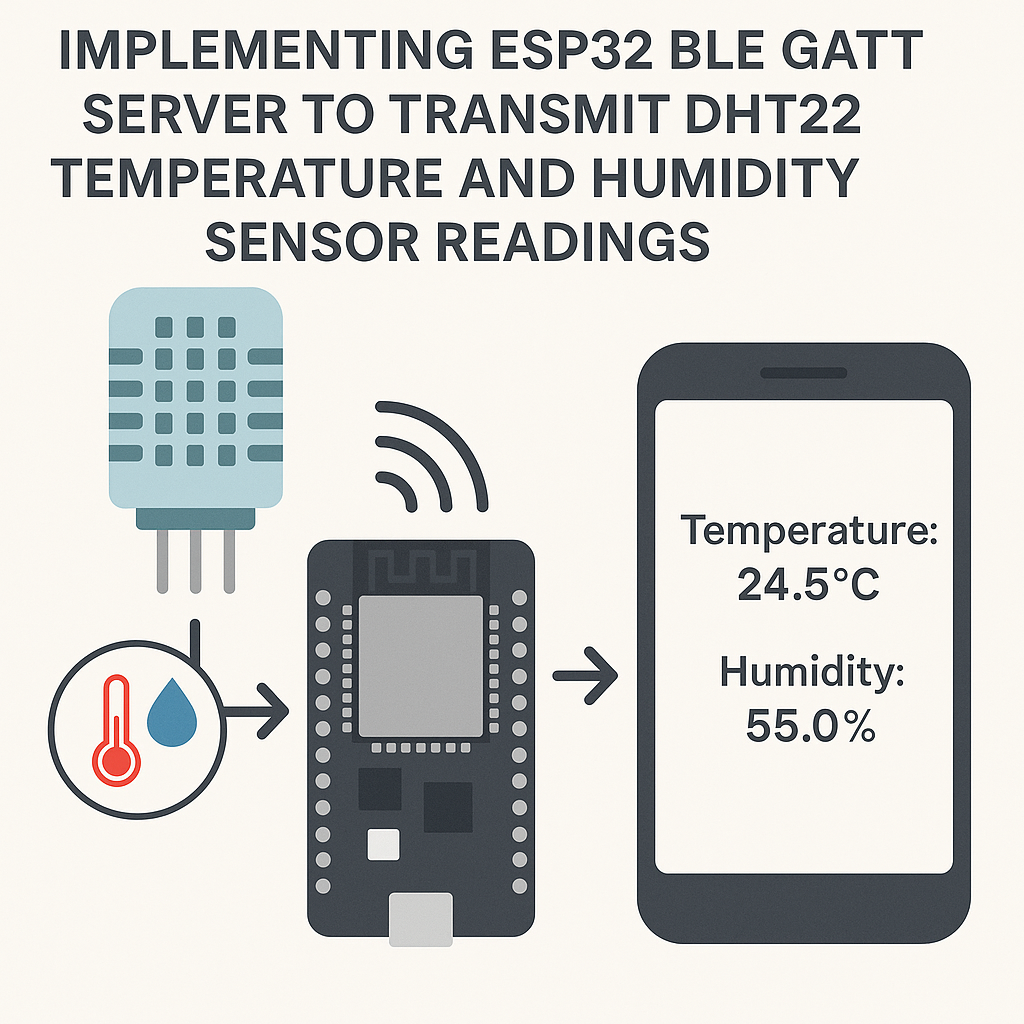
Wi-Fi is overkill when you just need to push a temperature reading to a phone across the room. BLE uses a fraction of the power, pairs instantly, and the GATT protocol gives you a clean, structured way to expose sensor data as readable characteristics. This project turns your ESP32 into a BLE peripheral that broadcasts DHT22 temperature and humidity readings—any phone with a BLE scanner app (like nRF Connect) can pick them up.
The ESP32's built-in BLE stack makes this surprisingly straightforward. You define a GATT service, attach a characteristic, and update it with fresh sensor data on a loop. No cloud account, no Wi-Fi password, no server infrastructure.
Prerequisites
- Arduino IDE 2.x with the ESP32 board package installed (v3.x of the Arduino ESP32 core)
- Basic comfort with Arduino-style C++ code
- A BLE scanner app on your phone (nRF Connect is the go-to)
Parts/Tools
- ESP32 development board (any variant with BLE support)
- DHT22 temperature/humidity sensor
- Jumper wires
- Breadboard (optional but makes life easier)
Steps
- Wire up the DHT22
Simple three-wire hookup. The DHT22 has four pins but you only use three (pin 3 is not connected):
DHT22 Pin 1 (VCC)   -> ESP32 3.3V
DHT22 Pin 2 (Data)  -> ESP32 GPIO 23
DHT22 Pin 4 (GND)   -> ESP32 GND
Watch out: some DHT22 breakout boards already have a pull-up resistor on the data line. If you're using a bare sensor, add a 10k pull-up between the data pin and 3.3V or your readings will be flaky.
- Install the DHT library
In Arduino IDE 2.x, open the Library Manager (Sketch > Include Library > Manage Libraries) and install the DHT sensor library by Adafruit. It'll prompt you to also install the Adafruit Unified Sensor library—say yes.
The BLE libraries ship with the ESP32 board package (v3.x), so you don't need to install those separately.
- Write the firmware
Create a new sketch and paste this in. I'll walk through the key parts below:
#include <DHT.h>
#include <BLEDevice.h>
#include <BLEServer.h>
#include <BLE2902.h>

#define DHTPIN 23
#define DHTTYPE DHT22

DHT dht(DHTPIN, DHTTYPE);

BLEServer *pServer = NULL;
BLECharacteristic *pCharacteristic = NULL;
bool deviceConnected = false;

#define SERVICE_UUID        "4fafc201-1fb5-459e-8fcc-c5c9c331914b"
#define CHARACTERISTIC_UUID "beb5483e-36e1-4688-b7f5-3d7b7a3a3e78"

class MyServerCallbacks : public BLEServerCallbacks {
    void onConnect(BLEServer* pServer) { deviceConnected = true; }
    void onDisconnect(BLEServer* pServer) {
        deviceConnected = false;
        pServer->getAdvertising()->start(); // restart advertising
    }
};

void setup() {
    Serial.begin(115200);
    dht.begin();

    BLEDevice::init("ESP32_DHT22");
    pServer = BLEDevice::createServer();
    pServer->setCallbacks(new MyServerCallbacks());

    BLEService *pService = pServer->createService(SERVICE_UUID);
    pCharacteristic = pService->createCharacteristic(
        CHARACTERISTIC_UUID,
        BLECharacteristic::PROPERTY_READ | BLECharacteristic::PROPERTY_NOTIFY
    );
    pCharacteristic->addDescriptor(new BLE2902());
    pService->start();

    pServer->getAdvertising()->start();
    Serial.println("BLE server running. Waiting for connections...");
}

void loop() {
    float h = dht.readHumidity();
    float t = dht.readTemperature();

    if (isnan(h) || isnan(t)) {
        Serial.println("DHT read failed. Check wiring.");
        delay(2000);
        return;
    }

    String data = "T:" + String(t, 1) + "C H:" + String(h, 1) + "%";
    pCharacteristic->setValue(data.c_str());

    if (deviceConnected) {
        pCharacteristic->notify();
    }

    Serial.println(data);
    delay(2000);
}
A few things worth noting in this code:
- The
BLE2902descriptor is required for notifications to work. Without it, your client won't be able to subscribe to updates. - The server callbacks track connection state and—this is easy to miss—restart advertising when a client disconnects. Without that restart, you can only ever connect once.
- We only call
notify()when a device is actually connected. Notifying with no client connected just wastes cycles.
- The
- Upload and test
Select your ESP32 board and port under Tools, then hit Upload. Once it's running, open nRF Connect on your phone:
- Scan for devices—look for "ESP32_DHT22"
- Connect to it
- Find the service (UUID starting with
4fafc201) - Tap the characteristic to read the current value, or enable notifications to get live updates every 2 seconds
Troubleshooting
- DHT reads return NaN: Double-check your wiring. Also make sure you're powering the DHT22 from 3.3V, not 5V—some modules tolerate 5V but the ESP32 GPIO pins are 3.3V and a 5V data line can cause issues. If readings are intermittent, you probably need a pull-up resistor on the data line.
- BLE device doesn't show up in scan: Make sure your phone's Bluetooth is on (obvious, but worth checking). Also verify the ESP32 actually booted—open the Serial Monitor and confirm you see the "BLE server running" message. If the device shows up but you can't connect, try power-cycling the ESP32.
- Notifications not working: You need the
BLE2902descriptor added to the characteristic. The code above includes it, but if you modified things, make sure it's still there.
Next Steps
You now have a working BLE sensor beacon. From here, you could build a custom mobile app (Flutter has solid BLE libraries), add more characteristics for additional sensor types, or implement BLE bonding for security. If you need longer range or cloud connectivity, consider adding Wi-Fi alongside BLE—the ESP32 can run both simultaneously, though it does increase power consumption.