How to Set Up a BLE GATT Server on ESP32 for DHT11 Data Transmission
BLE GATT Server on ESP32: Streaming DHT11 Sensor Data Over Bluetooth
BLE (Bluetooth Low Energy) is one of the most practical ways to get sensor data off an ESP32 without Wi-Fi overhead. You set up a GATT server, define a characteristic for your sensor readings, and any BLE client—phone app, another microcontroller, a laptop—can subscribe and get notified when new data arrives.
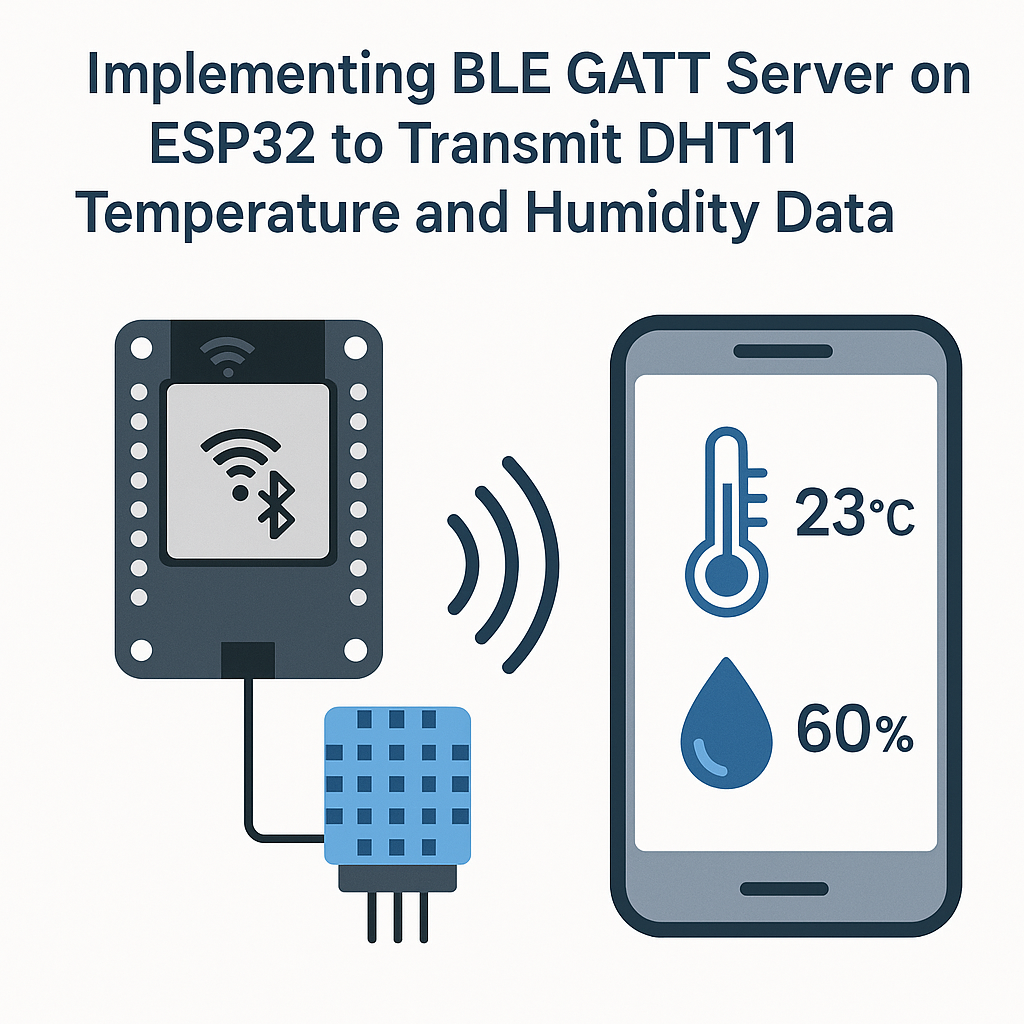
This project pairs a DHT11 temperature/humidity sensor with the ESP32's built-in BLE radio. The ESP32 acts as a GATT server that pushes sensor readings to connected clients via BLE notifications. It's a clean, low-power approach that works well for short-range monitoring setups.
Prerequisites
- Working knowledge of Arduino C/C++ programming
- ESP32 development board (any variant with BLE support)
- DHT11 temperature and humidity sensor
- Arduino IDE 2.x installed with ESP32 board package (Arduino ESP32 core v3.x)
Parts/Tools
- ESP32 development board
- DHT11 sensor (the 3-pin module version is easiest to work with)
- Breadboard and jumper wires
- USB cable for programming the ESP32
Steps
- Set Up the Hardware
- Connect the DHT11 sensor to the ESP32. The wiring is straightforward:
DHT11 VCC -> ESP32 3.3V DHT11 GND -> ESP32 GND DHT11 DATA -> ESP32 GPIO 23 - Watch out: some DHT11 modules have a built-in pull-up resistor on the data line. If you're using a bare 4-pin DHT11 (not on a breakout board), add a 10kΩ pull-up between DATA and VCC. Without it, you'll get intermittent read failures that are maddening to debug.
- Connect the DHT11 sensor to the ESP32. The wiring is straightforward:
- Install Required Libraries
- Open Arduino IDE 2.x.
- Go to Sketch > Include Library > Manage Libraries....
- Search for and install:
- DHT sensor library by Adafruit (it'll prompt you to install the Adafruit Unified Sensor dependency—say yes)
- The BLE libraries ship with the ESP32 Arduino core v3.x, so you don't need to install them separately. If you can't find
BLEDevice.h, make sure your ESP32 board package is up to date.
- Write the Code
- Open a new sketch in Arduino IDE.
- Pull in the required headers:
#include <DHT.h> #include <BLEDevice.h> #include <BLEServer.h> #include <BLEUtils.h> #include <BLE2902.h> - Define the DHT11 sensor pin and BLE state variables:
#define DHTPIN 23 #define DHTTYPE DHT11 DHT dht(DHTPIN, DHTTYPE); BLECharacteristic *pCharacteristic; bool deviceConnected = false; - Set up the BLE GATT server in your setup() function. This creates a service with a single notifiable characteristic:
void setup() {
    Serial.begin(115200);
    dht.begin();

    BLEDevice::init("ESP32_DHT11");
    BLEServer *pServer = BLEDevice::createServer();
    pServer->setCallbacks(new MyServerCallbacks());
    BLEService *pService = pServer->createService(SERVICE_UUID);

    pCharacteristic = pService->createCharacteristic(
        CHARACTERISTIC_UUID,
        BLECharacteristic::PROPERTY_NOTIFY
    );

    pCharacteristic->addDescriptor(new BLE2902());
    pService->start();
    pServer->getAdvertising()->start();
    Serial.println("BLE server started, waiting for connections...");
}
You'll need a
MyServerCallbacksclass to track connection state. Define it abovesetup():class MyServerCallbacks : public BLEServerCallbacks { void onConnect(BLEServer* pServer) { deviceConnected = true; } void onDisconnect(BLEServer* pServer) { deviceConnected = false; pServer->getAdvertising()->start(); // restart advertising } };Don't forget to generate your own UUIDs for
SERVICE_UUIDandCHARACTERISTIC_UUID. Any UUID generator will do—just don't reuse example UUIDs from tutorials, or you'll get collisions with other people's projects in range.
- Implement Data Transmission
- In your loop(), read the DHT11 and push values via BLE notify:
void loop() {
    if (deviceConnected) {
        float h = dht.readHumidity();
        float t = dht.readTemperature();

        if (isnan(h) || isnan(t)) {
            Serial.println("DHT11 read failed, skipping...");
            delay(2000);
            return;
        }

        String data = "Temperature: " + String(t) + "\u00b0C, Humidity: " + String(h) + "%";
        pCharacteristic->setValue(data.c_str());
        pCharacteristic->notify();
        delay(2000);
    }
}
The DHT11 can only be read every ~2 seconds, so a 2-second delay is actually the minimum polling interval here. If you switch to a DHT22 later, you can poll faster (every ~0.5s) and get better accuracy.
Tip: for production use, I'd send the data as raw bytes (two floats) instead of a formatted string. It's more bandwidth-efficient and easier to parse on the client side. Strings are fine for prototyping though.
- In your loop(), read the DHT11 and push values via BLE notify:
- Upload the Code
- Connect your ESP32 via USB.
- In Arduino IDE 2.x, select your board under Tools > Board > esp32 > ESP32 Dev Module and pick the right port.
- Hit Upload. If the upload stalls, hold the BOOT button on the ESP32 during the "Connecting..." phase—some boards need that manual nudge.
- Open the Serial Monitor at 115200 baud to confirm the server starts. Then connect with a BLE scanner app (nRF Connect is excellent for this) to verify you receive notifications.
Troubleshooting
- ESP32 not showing up in BLE scans: Make sure the code uploaded without errors and the Serial Monitor shows "BLE server started." If you see a brownout reset in the serial output, your USB port may not supply enough current—try a different port or a powered hub.
- DHT11 returning NaN: This almost always means a wiring issue. Triple-check your connections and make sure you're using GPIO 23 (not physical pin 23—they're different on many boards). Also confirm the sensor is getting 3.3V, not 5V from the wrong pin.
- No BLE notifications received: After connecting with your BLE client app, you need to explicitly enable notifications on the characteristic (subscribe to it). In nRF Connect, tap the triple-arrow icon next to the characteristic. Also make sure you added the
BLE2902descriptor—without it, notification subscriptions won't work. - Frequent disconnections: BLE connections can drop if the ESP32's Wi-Fi is also active (they share the same radio). If you don't need Wi-Fi, call
WiFi.mode(WIFI_OFF)in your setup to free up the radio for BLE exclusively.
Next Steps
You now have a working BLE GATT server streaming live sensor data from an ESP32. From here, you could add more characteristics for different sensor types, implement BLE security with passkey pairing, or build a companion mobile app using frameworks like Flutter or React Native with BLE plugins. If you need longer range or multiple sensors feeding a central hub, consider switching to ESP-NOW for the sensor-to-hub link and reserving BLE for the hub-to-phone interface.