How to Modify U-Boot Environment Variables for Raspberry Pi 4 Boot Settings
Customizing U-Boot Environment Variables on Raspberry Pi
U-Boot gives you fine-grained control over the boot process that the standard Raspberry Pi bootloader doesn't. By tweaking U-Boot's environment variables, you can change boot delays, pass custom kernel arguments, set up multi-boot configurations, and script complex boot logic. If you're building embedded Linux systems on a Pi 4 (or Pi 5), understanding U-Boot's environment is a fundamental skill.
The Raspberry Pi doesn't ship with U-Boot by default—it uses Broadcom's proprietary bootloader. So the first assumption here is that you've already replaced or chained U-Boot into your boot flow, which is common when using Yocto, Buildroot, or a custom embedded Linux distro.
Prerequisites
- Raspberry Pi 4 (or Pi 5—U-Boot supports both now) with U-Boot already installed
- MicroSD card with your Linux image and U-Boot configured
- Serial console access (USB-to-UART adapter connected to GPIO 14/15) or HDMI + keyboard
- Comfort with command-line operations
Parts and Tools
- Raspberry Pi 4 or 5
- Appropriate power supply (USB-C, 5V/3A minimum)
- MicroSD card with U-Boot-based image
- USB-to-UART serial adapter (strongly recommended over HDMI for U-Boot work)
- Terminal emulator (minicom, picocom, or PuTTY)
Steps
-
Connect to the U-Boot Console
Hook up your serial adapter to the Pi's UART pins (GPIO 14 = TX, GPIO 15 = RX, plus a ground connection). Open your terminal emulator at 115200 baud, 8N1. Power on the Pi and immediately start hitting a key—U-Boot's autoboot countdown is usually just a few seconds. If you see the
U-Boot>prompt, you're in.Watch out: if you're using HDMI instead of serial, you might miss the autoboot window because HDMI initialization adds delay. Serial is much more reliable for U-Boot interaction.
-
View Current Environment Variables
At the U-Boot prompt, dump all current variables:
printenvThis will list everything—bootcmd, bootargs, bootdelay, load addresses, and more. To check a specific variable:
printenv bootdelay
printenv bootargs
Take note of the current values before changing anything. If something breaks, you'll want to know what to revert to.
-
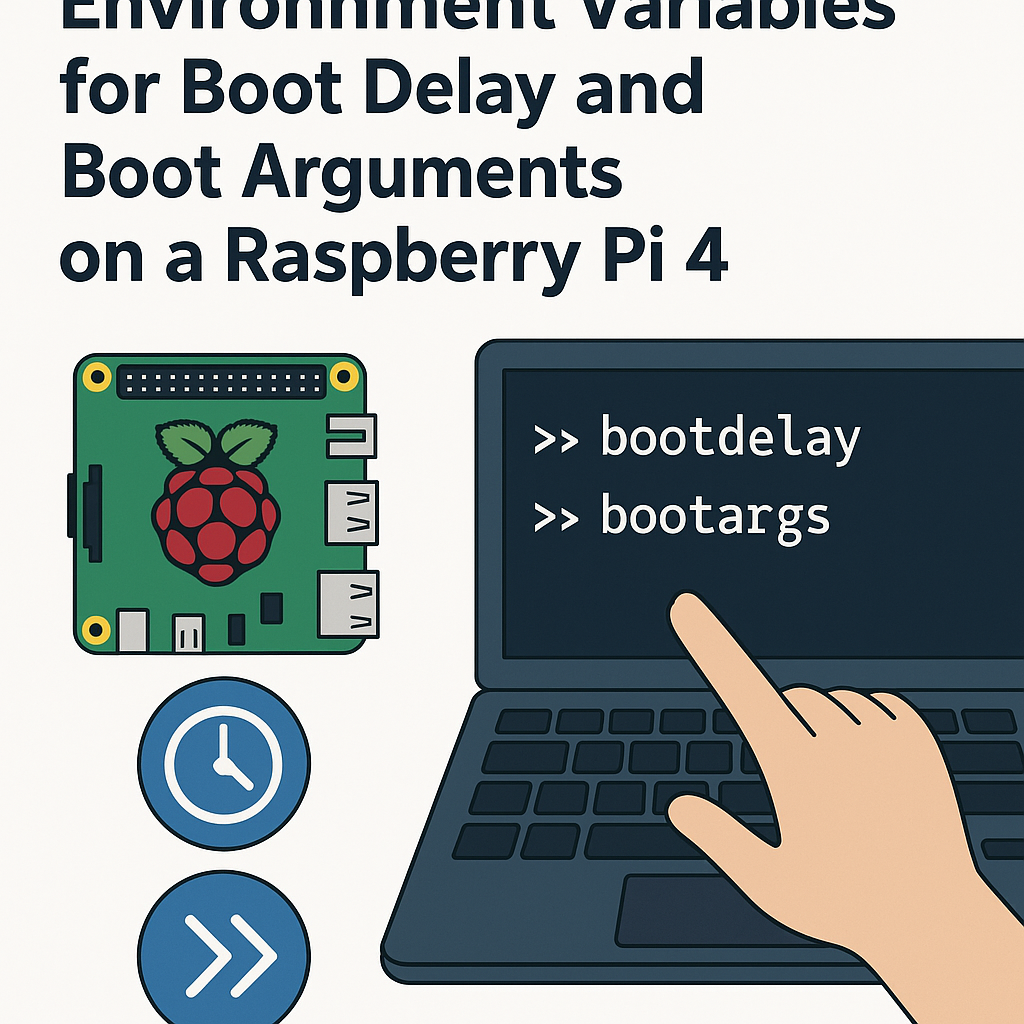
Change the Boot Delay
The
bootdelayvariable controls how many seconds U-Boot waits before automatically runningbootcmd. Set it to give yourself enough time to interrupt:setenv bootdelay 5Set it to
-1to disable autoboot entirely (U-Boot will wait at the prompt forever)—useful during development. Set it to0for instant boot in production, though you'll lose the ability to interrupt without a serial break signal. -
Modify Boot Arguments
The
bootargsvariable gets passed to the Linux kernel as its command line. This is where you configure console output, root filesystem, and other kernel parameters:setenv bootargs 'console=serial0,115200 root=/dev/mmcblk0p2 rootwait'Some common additions you might want:
quiet— suppress most kernel boot messagesloglevel=4— control kernel log verbosityrootfstype=ext4— explicitly set filesystem typeinit=/sbin/init— specify the init system path
You can also build bootargs dynamically using other variables. For example:
setenv console_args 'console=serial0,115200'
setenv root_args 'root=/dev/mmcblk0p2 rootwait'
setenv bootargs '${console_args} ${root_args}'
This makes it easier to swap individual pieces without retyping the whole string.
-
Save the Environment
Changes made with
setenvonly exist in RAM until you explicitly save them:saveenvYou should see output like
Saving Environment to FAT... OK(or to MMC, or to SPI flash, depending on your U-Boot build). Ifsaveenvfails with an error, your U-Boot might not be configured with a writable environment storage backend—check your U-Boot build configuration. -
Reboot and Verify
Reset the board:
resetWatch the boot output. You should see the new bootdelay countdown and the kernel receiving your updated bootargs. On Linux, you can verify the kernel command line with:
cat /proc/cmdline
Troubleshooting
- Can't interrupt autoboot: Try holding down a key before powering on. If bootdelay is 0, you may need to send a serial break signal (most terminal emulators have a menu option for this). Worst case, you can mount the SD card on another computer and edit the U-Boot environment file directly.
- saveenv fails: This usually means U-Boot was compiled without support for persistent environment storage on your media. You'll need to rebuild U-Boot with the right CONFIG_ENV_IS_IN_* option enabled (typically
CONFIG_ENV_IS_IN_FATfor Pi SD card setups). - Kernel panics after changing bootargs: Double-check your
root=parameter points to the correct partition. Usemmc partat the U-Boot prompt to list partitions and verify. Also make surerootwaitis included—without it, the kernel may try to mount the root filesystem before the SD card driver is ready. - Want to reset to defaults: If you've saved bad environment variables and can't boot, remove the environment file from the boot partition (it's typically
uboot.envon a FAT partition) using another computer. U-Boot will fall back to its compiled-in defaults on the next boot.
Going Further
U-Boot's environment is much more than just static variables. You can write boot scripts with conditionals, implement A/B partition switching for OTA updates, and use bootcmd to chain complex boot sequences. If you're building a product, look into U-Boot's distro boot mechanism (boot_targets and boot_scripts) which provides a standardized way to find and boot a kernel across different storage media. For the Pi 5 specifically, make sure you're using a U-Boot version from 2024 or later—earlier versions had incomplete BCM2712 support.