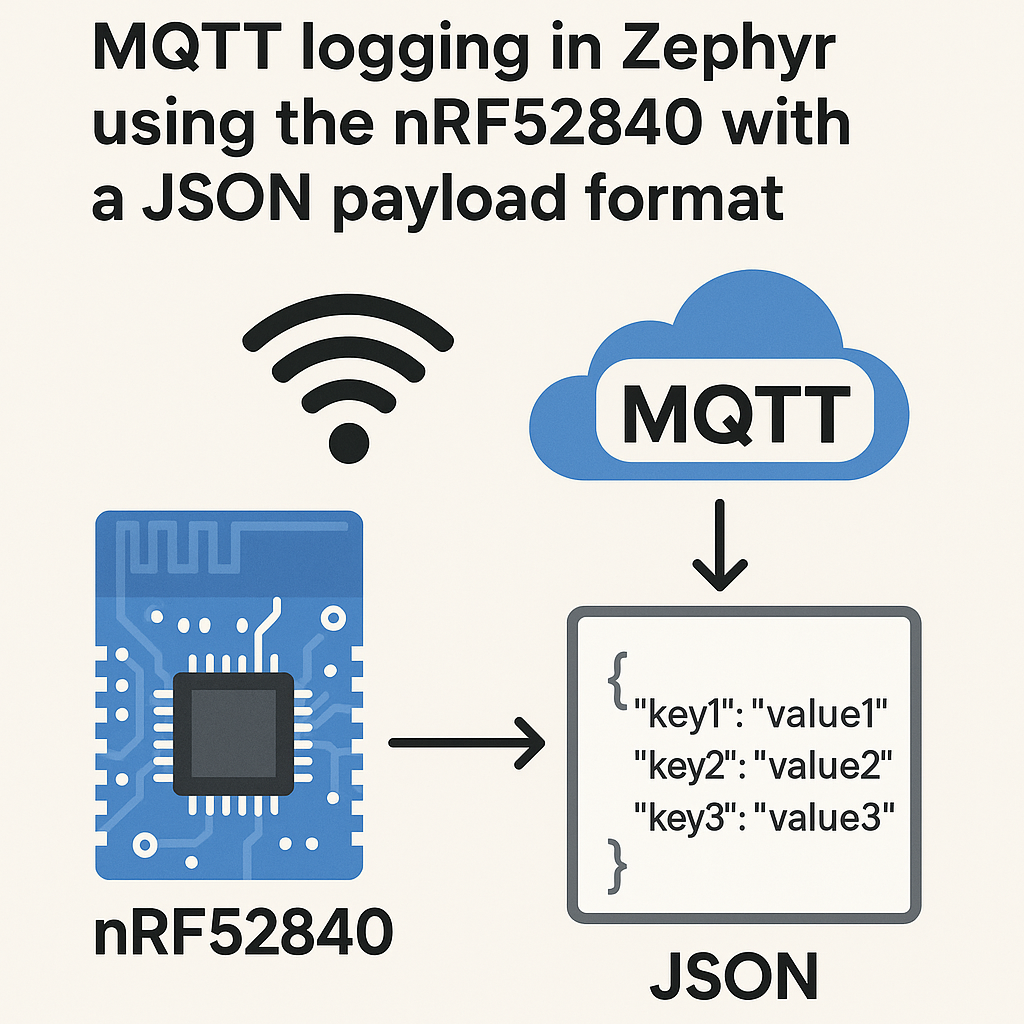
How to Implement Wi-Fi MQTT Logging in Zephyr on nRF52840 with JSON Payload
The Setup: nRF52840, Wi-Fi, and MQTT
The nRF52840 is a BLE powerhouse, but it doesn't have built-in Wi-Fi. To get MQTT over Wi-Fi, you'll pair it with a companion module — typically the nRF7002 Wi-Fi companion IC on Nordic's development kits (like the nRF7002 DK or an nRF7002 EK shield). Zephyr RTOS (v3.7+) has native drivers for this combo, plus a solid MQTT client library and JSON support baked in.
This guide walks through building a Zephyr application that connects to Wi-Fi, formats sensor readings as JSON, and publishes them to an MQTT broker. It's a pattern you'll use constantly for IoT logging and monitoring.
Prerequisites
- C programming experience and basic embedded systems knowledge
- Familiarity with Zephyr RTOS concepts (devicetree, Kconfig, west build system)
- nRF52840 DK with nRF7002 EK shield (or nRF7002 DK)
- Wi-Fi network credentials
- An MQTT broker running and accessible on your network (Mosquitto is the easy choice for local testing)
- nRF Connect SDK v2.7+ installed (includes Zephyr v3.7+) with the nRF toolchain
Parts/Tools
- nRF52840 DK + nRF7002 EK shield (or nRF7002 DK)
- USB cable for programming and serial output
- Computer with nRF Connect SDK installed (includes west, Zephyr, and the nRF toolchain)
- MQTT broker (Mosquitto for local testing, or a cloud broker like HiveMQ or AWS IoT)
Steps
-
Set Up Your Workspace
If you haven't already, install the nRF Connect SDK (v2.7+), which bundles Zephyr v3.7+ and all the Nordic-specific drivers. The easiest path is through the nRF Connect for VS Code extension — it handles the SDK installation, toolchain, and west initialization for you.
Create a new application directory inside your workspace:
mkdir mqtt_json_logger
cd mqtt_json_logger
You'll need three files:
prj.conffor Kconfig,CMakeLists.txtfor the build, andsrc/main.cfor the application code. -
Configure the Project (prj.conf)
This is where you enable the subsystems you need. Here's a working config for Wi-Fi + MQTT + JSON:
# Networking stack
CONFIG_NETWORKING=y
CONFIG_NET_TCP=y
CONFIG_NET_SOCKETS=y
CONFIG_NET_CONNECTION_MANAGER=y

# Wi-Fi (nRF7002)
CONFIG_WIFI=y
CONFIG_WIFI_NRF700X=y
CONFIG_NET_L2_WIFI_MGMT=y
CONFIG_NET_DHCPV4=y

# MQTT
CONFIG_MQTT_LIB=y
CONFIG_MQTT_CLEAN_SESSION=y

# JSON
CONFIG_CJSON_LIB=y

# Logging
CONFIG_LOG=y
CONFIG_LOG_DEFAULT_LEVEL=3

# DNS (needed to resolve broker hostname)
CONFIG_DNS_RESOLVER=y
A couple of notes:
CONFIG_WIFI_NRF700Xis the current Kconfig symbol for the nRF7002 Wi-Fi driver in nRF Connect SDK. If you're using a different Wi-Fi module (like an ESP32 as a Wi-Fi co-processor), the Kconfig symbols will differ. Also, we're enabling cJSON here — Zephyr ships it as an optional module and it's the most convenient way to build JSON payloads. -
Write the Application Code
Create
src/main.cwith the following structure. This is simplified to show the flow — a production app would need better error handling and reconnection logic.Start with the includes and MQTT client setup:
#include <zephyr/kernel.h>
#include <zephyr/net/mqtt.h>
#include <zephyr/net/socket.h>
#include <zephyr/net/wifi_mgmt.h>
#include <zephyr/net/net_mgmt.h>
#include <cJSON.h>

#define MQTT_BROKER_ADDR "192.168.1.100"
#define MQTT_BROKER_PORT 1883
#define MQTT_TOPIC "sensors/data"

static struct mqtt_client client;
static uint8_t rx_buffer[256];
static uint8_t tx_buffer[256];
static struct sockaddr_storage broker;
Next, the Wi-Fi connection handler. Zephyr's net management API fires events when the connection state changes:
static K_SEM_DEFINE(wifi_connected_sem, 0, 1); static void wifi_mgmt_handler(struct net_mgmt_event_callback *cb, uint32_t mgmt_event, struct net_if *iface) { if (mgmt_event == NET_EVENT_WIFI_CONNECT_RESULT) { k_sem_give(&wifi_connected_sem); } } static void connect_wifi(void) { struct net_if *iface = net_if_get_default(); struct wifi_connect_req_params params = { .ssid = "YourSSID", .ssid_length = strlen("YourSSID"), .psk = "YourPassword", .psk_length = strlen("YourPassword"), .security = WIFI_SECURITY_TYPE_PSK, }; net_mgmt(NET_REQUEST_WIFI_CONNECT, iface, ¶ms, sizeof(params)); k_sem_take(&wifi_connected_sem, K_FOREVER); }The JSON payload builder — this is where cJSON shines over hand-rolling snprintf'd JSON strings:
static char *create_json_payload(const char *sensor_name, float value) {
    cJSON *root = cJSON_CreateObject();
    cJSON_AddStringToObject(root, "sensor", sensor_name);
    cJSON_AddNumberToObject(root, "value", value);
    cJSON_AddNumberToObject(root, "timestamp", k_uptime_get() / 1000);
    char *json_str = cJSON_PrintUnformatted(root);  // No whitespace, saves bytes
    cJSON_Delete(root);
    return json_str;
}
Use
cJSON_PrintUnformatted()instead ofcJSON_Print()on embedded targets. The pretty-printed version wastes RAM on whitespace nobody will see.MQTT client initialization and publish function:
static void mqtt_evt_handler(struct mqtt_client *c, const struct mqtt_evt *evt) { switch (evt->type) { case MQTT_EVT_CONNACK: printk("MQTT connected\n"); break; case MQTT_EVT_DISCONNECT: printk("MQTT disconnected\n"); break; default: break; } } static void init_mqtt(void) { struct sockaddr_in *broker4 = (struct sockaddr_in *)&broker; broker4->sin_family = AF_INET; broker4->sin_port = htons(MQTT_BROKER_PORT); net_addr_pton(AF_INET, MQTT_BROKER_ADDR, &broker4->sin_addr); mqtt_client_init(&client); client.broker = &broker; client.evt_cb = mqtt_evt_handler; client.rx_buf = rx_buffer; client.rx_buf_size = sizeof(rx_buffer); client.tx_buf = tx_buffer; client.tx_buf_size = sizeof(tx_buffer); client.protocol_version = MQTT_VERSION_3_1_1; } static void publish_data(const char *sensor, float value) { char *payload = create_json_payload(sensor, value); struct mqtt_publish_param param = { .message.topic.qos = MQTT_QOS_1_AT_LEAST_ONCE, .message.topic.topic.utf8 = MQTT_TOPIC, .message.topic.topic.size = strlen(MQTT_TOPIC), .message.payload.data = payload, .message.payload.len = strlen(payload), .message_id = sys_rand32_get(), }; mqtt_publish(&client, ¶m); cJSON_free(payload); }Finally, the main function ties it all together:
int main(void) {
    static struct net_mgmt_event_callback wifi_cb;
    net_mgmt_init_event_callback(&wifi_cb, wifi_mgmt_handler,
                                 NET_EVENT_WIFI_CONNECT_RESULT);
    net_mgmt_add_event_callback(&wifi_cb);

    connect_wifi();
    printk("Wi-Fi connected\n");

    init_mqtt();
    mqtt_connect(&client);

    while (1) {
        mqtt_input(&client);   // Process incoming MQTT data
        mqtt_live(&client);    // Keep-alive maintenance

        float temp = 23.5f;    // Replace with actual sensor read
        publish_data("temperature", temp);

        k_sleep(K_SECONDS(30));
    }
    return 0;
}
In a real project, you'd replace that hardcoded 23.5 with an actual sensor driver call, add reconnection logic for both Wi-Fi and MQTT, and probably use a dedicated thread for the MQTT event loop.
-
Build and Flash
Build for the nRF52840 DK with the nRF7002 EK shield:
west build -b nrf52840dk/nrf52840 -- -DSHIELD=nrf7002ekFlash it:
west flashOpen a serial terminal (115200 baud) to see the log output. You should see Wi-Fi association, DHCP address assignment, MQTT connection, and then periodic publish messages.
Troubleshooting
- Wi-Fi won't connect: Check your SSID and password. Also verify the nRF7002 EK shield is properly seated and that you passed the
-DSHIELD=nrf7002ekflag during build. Without the shield overlay, the Wi-Fi driver won't initialize. - MQTT broker connection refused: Make sure your broker is listening on the right port and that there are no firewall rules blocking the connection. Test from your PC first with
mosquitto_pubto rule out broker issues. - JSON parsing errors or garbled output: Validate your JSON with a tool like jq on the receiving end. If you're seeing truncated payloads, increase your TX buffer size.
- Build errors about missing Kconfig symbols: You're probably using an older nRF Connect SDK version.
CONFIG_WIFI_NRF700Xreplaced the olderCONFIG_WIFI_NRF7002symbol. Update to nRF Connect SDK v2.7+ or check the migration guide for your version. - Enable more verbose logging by adding these to
prj.conf:CONFIG_NET_LOG=y CONFIG_MQTT_LOG_LEVEL_DBG=y CONFIG_WIFI_LOG_LEVEL_DBG=y
Where to Go Next
You've got a working MQTT JSON logger on Zephyr. For production, you'll want to add TLS 1.3 to the MQTT connection (Zephyr supports this via the mbedTLS subsystem — enable CONFIG_MQTT_LIB_TLS and configure certificates). Add reconnection logic with exponential backoff for both Wi-Fi and MQTT. And consider switching from cJSON to Zephyr's built-in json library for lower memory usage if you're working with predictable, fixed-schema payloads. The cJSON approach is more flexible but allocates from the heap, which isn't ideal on memory-constrained devices.