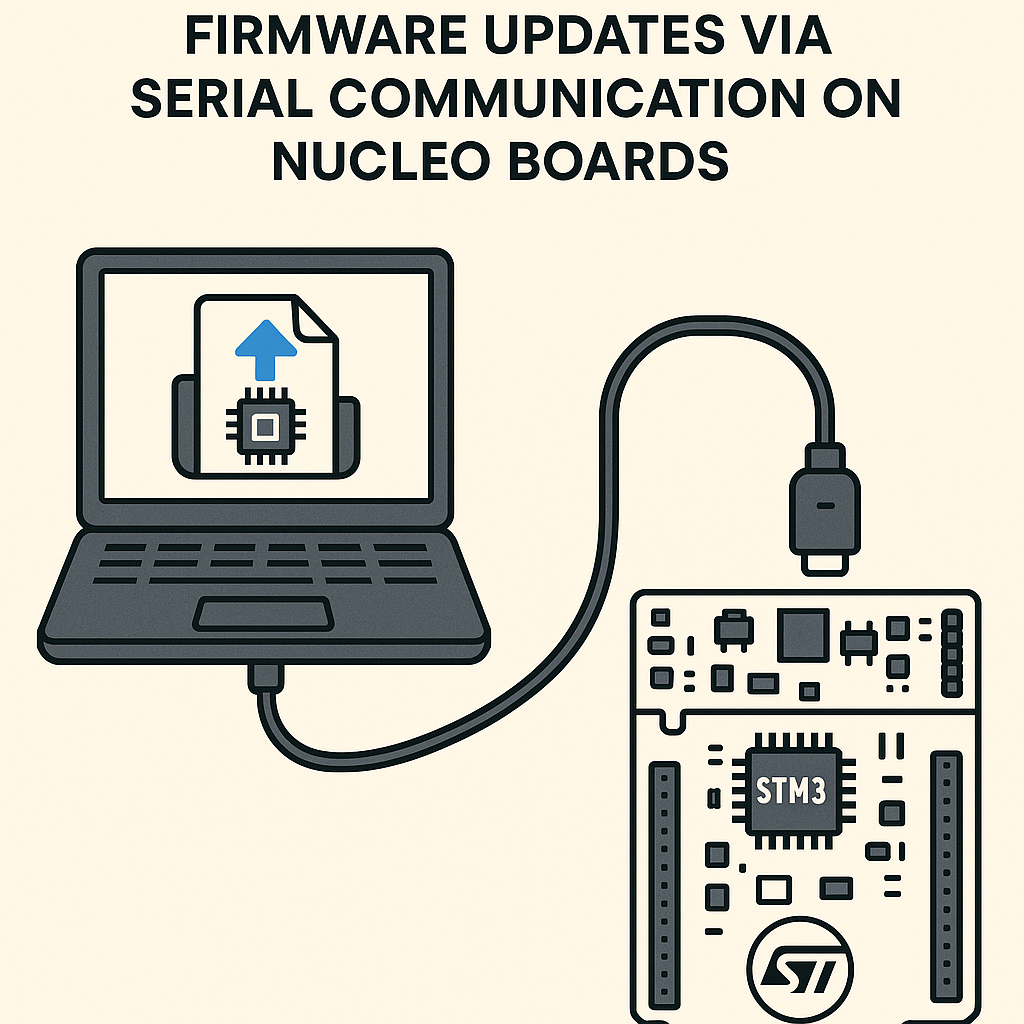
How to Implement STM32 UART Bootloader for Firmware Updates on Nucleo Boards
Why Build a Custom UART Bootloader?
Every STM32 ships with a built-in system bootloader in ROM, and it works fine for flashing over UART during development. But a custom bootloader gives you control: you decide the protocol, the integrity checks, the fallback behavior, and where in flash the application lives. If you're deploying products in the field, being able to push firmware updates over a plain serial connection—without needing an ST-Link—is incredibly useful.
This walkthrough builds a minimal UART bootloader for an STM32 Nucleo board. It receives a binary over serial, writes it to flash, and jumps to the application. It's intentionally bare-bones so you can see the mechanics clearly before adding features like CRC checks, encryption, or dual-bank failover.
Prerequisites
- Working knowledge of STM32 peripherals (UART, flash memory)
- Comfortable reading C at the register level (HAL is fine too)
- Understanding of how an MCU boots—vector table, stack pointer, reset handler
- STM32CubeIDE v1.16+ installed
Parts and Tools
- STM32 Nucleo board (Nucleo-F401RE used here, but any F4/G4/L4 Nucleo works with minor address changes)
- USB cable (the Nucleo's built-in ST-Link exposes a virtual COM port, so no separate USB-UART adapter is needed)
- STM32CubeIDE v1.16+
- Terminal software with binary send capability (Tera Term, or a Python script with pyserial)
Steps
- Understand the Flash Layout
Before writing any code, you need to decide where the bootloader and application live in flash. On an STM32F401 with 512 KB of flash starting at 0x08000000:
- Bootloader: 0x08000000 to 0x08007FFF (first 32 KB, sectors 0–1)
- Application: 0x08008000 onward
The bootloader occupies the default boot address and runs first. It then either enters update mode (if triggered) or jumps straight to the application. Your application project's linker script needs its FLASH origin set to 0x08008000 and the vector table offset updated to match.
- Create the Bootloader Project
- In STM32CubeIDE v1.16+, create a new STM32 project targeting your Nucleo board.
- In the .ioc configurator, enable USART2 in asynchronous mode at 115200 baud. This maps to the virtual COM port on most Nucleo boards.
- Generate the code.
- Implement UART Receive and Flash Write
The bootloader needs two core functions: receiving bytes over UART and writing them to flash. Here's a stripped-down version:
#define APP_START_ADDRESS 0x08008000U #define FLASH_PAGE_SIZE 0x4000U // 16 KB for sectors 0-3 on F401 void ReceiveFirmware(uint8_t *buffer, uint32_t length) { HAL_UART_Receive(&huart2, buffer, length, HAL_MAX_DELAY); } HAL_StatusTypeDef WriteToFlash(uint32_t address, uint8_t *data, uint32_t length) { HAL_FLASH_Unlock(); // Erase the target sectors first FLASH_EraseInitTypeDef eraseInit; uint32_t sectorError; eraseInit.TypeErase = FLASH_TYPEERASE_SECTORS; eraseInit.Sector = FLASH_SECTOR_2; // Application starts at sector 2 eraseInit.NbSectors = 1; // Adjust based on firmware size eraseInit.VoltageRange = FLASH_VOLTAGE_RANGE_3; HAL_FLASHEx_Erase(&eraseInit, §orError); // Write word by word for (uint32_t i = 0; i < length; i += 4) { uint32_t word = *(uint32_t *)(data + i); HAL_FLASH_Program(FLASH_TYPEPROGRAM_WORD, address + i, word); } HAL_FLASH_Lock(); return HAL_OK; }Watch out: you must erase flash before writing. STM32 flash can only go from 1 to 0, not 0 to 1. Skipping the erase step is a classic gotcha that leads to corrupted firmware and confusing debug sessions.
- Implement the Application Jump
Jumping from the bootloader to the application means setting the stack pointer and branching to the reset handler. This is the trickiest part—get it wrong and the MCU hard faults:
typedef void (*pFunction)(void);

void JumpToApplication(void) {
    uint32_t appStack = *(volatile uint32_t *)APP_START_ADDRESS;
    uint32_t appEntry = *(volatile uint32_t *)(APP_START_ADDRESS + 4);

    // Sanity check: is there valid code at the app address?
    if ((appStack & 0x2FFE0000) == 0x20000000) {
        HAL_RCC_DeInit();
        HAL_DeInit();
        __set_MSP(appStack);
        pFunction jumpToApp = (pFunction)appEntry;
        jumpToApp();
    }
}
The stack pointer sanity check (looking for a value in the SRAM range) prevents jumping to erased or corrupted flash. Without it, a blank application region causes an instant hard fault with no useful debug info.
- Wire It All Together in main()
#define FW_MAX_SIZE  (128 * 1024)  // 128 KB max firmware

int main(void) {
    HAL_Init();
    SystemClock_Config();
    MX_USART2_UART_Init();

    // Check for update trigger (e.g., button press or magic byte over UART)
    if (HAL_GPIO_ReadPin(USER_BUTTON_GPIO_Port, USER_BUTTON_Pin) == GPIO_PIN_RESET) {
        // Button held during reset = enter update mode
        uint8_t ack = 'R'; // Ready
        HAL_UART_Transmit(&huart2, &ack, 1, 100);

        // First receive the firmware size (4 bytes)
        uint32_t fwSize = 0;
        HAL_UART_Receive(&huart2, (uint8_t *)&fwSize, 4, HAL_MAX_DELAY);

        if (fwSize > 0 && fwSize <= FW_MAX_SIZE) {
            uint8_t fwBuffer[1024]; // Receive in chunks
            uint32_t offset = 0;
            while (offset < fwSize) {
                uint32_t chunkSize = (fwSize - offset > 1024) ? 1024 : (fwSize - offset);
                ReceiveFirmware(fwBuffer, chunkSize);
                WriteToFlash(APP_START_ADDRESS + offset, fwBuffer, chunkSize);
                offset += chunkSize;
            }
        }
    }

    // Jump to application
    JumpToApplication();

    // Should never reach here
    while (1) {}
}
Using the user button as the update trigger keeps things simple. In production, you'd typically check for a magic value in a reserved flash sector or a command byte over UART during a short timeout window.
- Prepare Your Application Project
Your application firmware needs two changes to work with this bootloader:
- In the linker script (.ld), set
FLASH (rx) : ORIGIN = 0x08008000, LENGTH = 480K - In system_stm32f4xx.c or your startup code, set
VECT_TAB_OFFSET = 0x8000so the vector table points to the right place
- In the linker script (.ld), set
- Test the Bootloader
- Flash the bootloader to the Nucleo via ST-Link as usual.
- Hold the user button and press reset to enter update mode.
- Send your application binary (.bin, not .elf or .hex) over the virtual COM port using your terminal tool or a Python script.
- Release the button and reset. The bootloader should jump to your application.
Troubleshooting
- UART receives garbage or times out: Confirm both sides are at 115200/8N1. The Nucleo's virtual COM port usually maps to USART2, but check your board's schematic—some variants use different peripherals.
- Flash write fails silently: Always check the return value of
HAL_FLASH_Program. Common causes: flash is still locked, you're writing to a sector that wasn't erased, or the voltage range setting doesn't match your board's power supply. - Hard fault on application jump: The most likely cause is a wrong vector table offset in the application. Double-check that
VECT_TAB_OFFSETmatchesAPP_START_ADDRESS - 0x08000000. Also verify the linker script FLASH origin. - Bootloader works once but not after reflashing the app: Make sure you're erasing the correct flash sectors before writing. If the app spans multiple sectors, your erase routine needs to cover all of them.
Next Steps
This bootloader is functional but minimal. For anything going into production, you'll want to add a CRC32 check on the received firmware, a protocol with ACK/NACK for reliable transfers, and ideally a dual-bank or A/B partition scheme so a failed update doesn't brick the device. If you need signed firmware updates, look into MCUboot—it's well-established in the STM32 ecosystem and handles secure boot, image verification, and rollback out of the box.