How to Implement Secure OTA Firmware Updates on ESP32 with HTTPS
Secure OTA Firmware Updates on ESP32 with HTTPS and Custom Partitions
Shipping an IoT product without OTA update capability is basically shipping a product with an expiration date. Bugs happen, security vulnerabilities get discovered, and features need to be added. The ESP32's OTA system is well-designed -- you get A/B partition switching with automatic rollback, HTTPS verification, and it all fits in the ESP-IDF framework without needing external libraries.
The catch? Getting the partition table, TLS certificates, and update logic all working together takes some careful setup. Here's how to do it right.
Prerequisites
- Solid C programming skills (you'll be working directly with ESP-IDF APIs)
- ESP-IDF v5.3+ installed and working on your machine
- An ESP32 development board with Wi-Fi connectivity
- A web server to host firmware binaries (even a quick Python HTTP server works for testing, but use a real HTTPS server for production)
- Basic understanding of TLS/HTTPS and certificate chains
Parts/Tools
- ESP32 Development Board (any variant -- ESP32, ESP32-S3, ESP32-C6 all support OTA)
- USB cable for initial flashing
- Computer with ESP-IDF v5.3+ configured
- HTTPS-capable web server (local or cloud -- AWS S3, GitHub Releases, or a simple Nginx setup all work)
Steps
-
Create Your ESP-IDF Project
- Start a new project. ESP-IDF ships with an OTA example you can reference, but building from scratch helps you understand every piece:
- You can also copy the example as a starting point:
idf.py create-project secure_ota cd secure_otacp -r $IDF_PATH/examples/system/ota . -
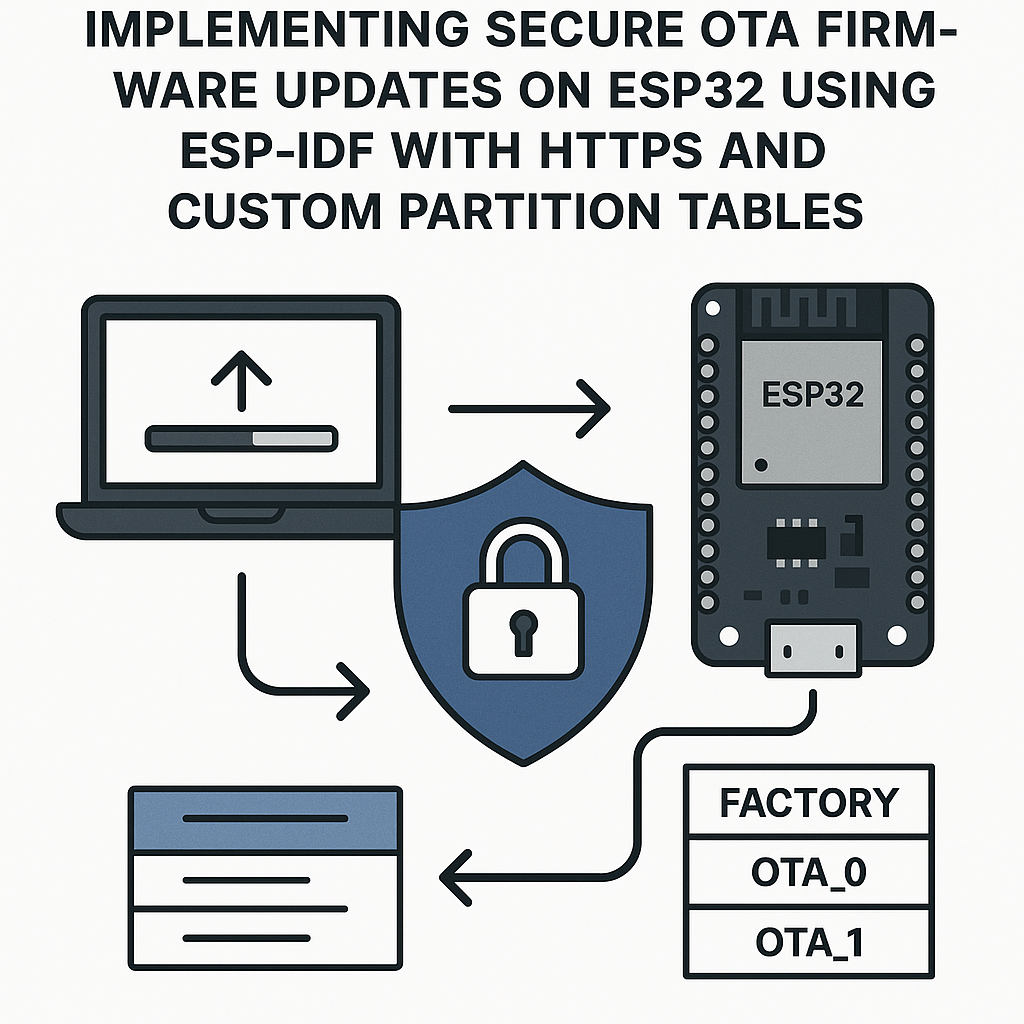
Set Up a Custom Partition Table
- OTA requires two app partitions (so the device can run from one while writing to the other) plus an OTA data partition that tracks which slot is active. Create partitions.csv in your project root:
- Watch out for: the two app partitions must be the same size, and each one needs to be large enough for your firmware binary. If your binary is 1.2 MB and your partition is 1 MB, the OTA write will fail silently partway through. I usually leave at least 20% headroom.
- Tell ESP-IDF to use your custom table in menuconfig:
- Go to Partition Table -> select Custom partition table CSV and set the filename to
partitions.csv.
# Name, Type, SubType, Offset, Size nvs, data, nvs, , 0x4000 otadata, data, ota, , 0x2000 phy_init, data, phy, , 0x1000 app0, app, ota_0, , 1536K app1, app, ota_1, , 1536Kidf.py menuconfig -
Embed the Server's TLS Certificate
- For HTTPS verification, the ESP32 needs your server's root CA certificate. Download it and save it as
server_cert.pemin your project'smaindirectory. - Embed it in the firmware binary using the ESP-IDF component CMake mechanism. In your
main/CMakeLists.txt: - This makes the certificate available in code as:
- Tip: for production, consider embedding the root CA cert (e.g., Let's Encrypt's ISRG Root X1) rather than your server's leaf certificate. That way the OTA still works when your server cert renews.
idf_component_register( SRCS "main.c" INCLUDE_DIRS "." EMBED_TXTFILES "server_cert.pem" )extern const char server_cert_pem_start[] asm("_binary_server_cert_pem_start"); extern const char server_cert_pem_end[] asm("_binary_server_cert_pem_end"); - For HTTPS verification, the ESP32 needs your server's root CA certificate. Download it and save it as
-
Implement the OTA Update Logic
- Include the necessary headers in
main.c: - The
esp_https_otaAPI wraps the entire download-and-flash sequence into a single call. Here's the core OTA function: - Wire up your Wi-Fi initialization and trigger the OTA from
app_main():
#include "esp_ota_ops.h" #include "esp_http_client.h" #include "esp_https_ota.h" #include "esp_log.h" #include "esp_wifi.h" #include "nvs_flash.h"static const char *TAG = "OTA"; esp_err_t do_ota_update(const char *url) { esp_http_client_config_t http_config = { .url = url, .cert_pem = server_cert_pem_start, .timeout_ms = 10000, .keep_alive_enable = true, }; esp_https_ota_config_t ota_config = { .http_config = &http_config, }; ESP_LOGI(TAG, "Starting OTA update from %s", url); esp_err_t err = esp_https_ota(&ota_config); if (err == ESP_OK) { ESP_LOGI(TAG, "OTA update successful. Rebooting..."); esp_restart(); } else { ESP_LOGE(TAG, "OTA update failed: %s", esp_err_to_name(err)); } return err; }void app_main(void) { nvs_flash_init(); wifi_init_sta(); // Your Wi-Fi connection function // Trigger OTA -- in production, you'd check a server for new versions first do_ota_update("https://your-server.com/firmware/v2.0.bin"); } - Include the necessary headers in
-
Add Rollback Protection
- After a successful OTA and reboot, the new firmware boots from the updated partition. But it's marked as "pending verification" until your code explicitly confirms it works:
- If you don't call this and the device reboots again (from a crash, watchdog, etc.), the bootloader automatically rolls back to the previous firmware. This is your safety net against bricked devices.
- A practical pattern: run your startup checks (Wi-Fi connects, sensors respond, etc.), and only mark the firmware as valid once those checks pass.
// Call this early in app_main() after verifying your app is working esp_ota_mark_app_valid_cancel_rollback(); -
Build, Flash, and Test
- Build and flash the initial firmware:
- To test OTA: make a code change (even just bumping a version string), rebuild, and host the new
.binfile on your HTTPS server: - Trigger the OTA update on the device. Watch the serial monitor -- you should see download progress, then a reboot into the new firmware.
idf.py build idf.py -p /dev/ttyUSB0 flash monitoridf.py build # Upload build/secure_ota.bin to your server
Troubleshooting
- OTA download fails immediately
- Check that the URL is correct and the binary is actually accessible (try downloading it with
curlfrom another machine first). - Certificate mismatch is the most common cause. Make sure the embedded PEM matches your server's certificate chain. Use
openssl s_client -connect your-server.com:443to inspect what the server presents.
- Check that the URL is correct and the binary is actually accessible (try downloading it with
- Download starts but fails partway through
- Your firmware binary is probably too large for the OTA partition. Check the binary size with
ls -la build/secure_ota.binand compare against your partition size. - Wi-Fi signal strength can cause timeouts on large downloads. Increase the
timeout_msvalue or move the device closer to the access point during testing.
- Your firmware binary is probably too large for the OTA partition. Check the binary size with
- Device boot-loops after OTA
- This is the rollback mechanism doing its job. The new firmware is crashing before calling
esp_ota_mark_app_valid_cancel_rollback(). Flash the device manually and check the crash logs.
- This is the rollback mechanism doing its job. The new firmware is crashing before calling
- Partition table errors on flash
- Make sure your partition offsets don't overlap and the total size doesn't exceed your ESP32's flash capacity (usually 4 MB or 16 MB). Run
idf.py partition-tableto validate.
- Make sure your partition offsets don't overlap and the total size doesn't exceed your ESP32's flash capacity (usually 4 MB or 16 MB). Run
Production Considerations
For a shipping product, you'll also want firmware version checking (so devices don't "update" to the same or older version), a signature verification step using secure boot (ESP-IDF supports this via MCUboot or its built-in secure boot v2), and a way to report update status back to your server. The basic OTA mechanism shown here is your foundation -- build those layers on top of it.