How to Implement Real-Time Object Detection on Raspberry Pi 4 with TensorFlow Lite
Real-Time Object Detection on Raspberry Pi with TensorFlow Lite and a USB Webcam
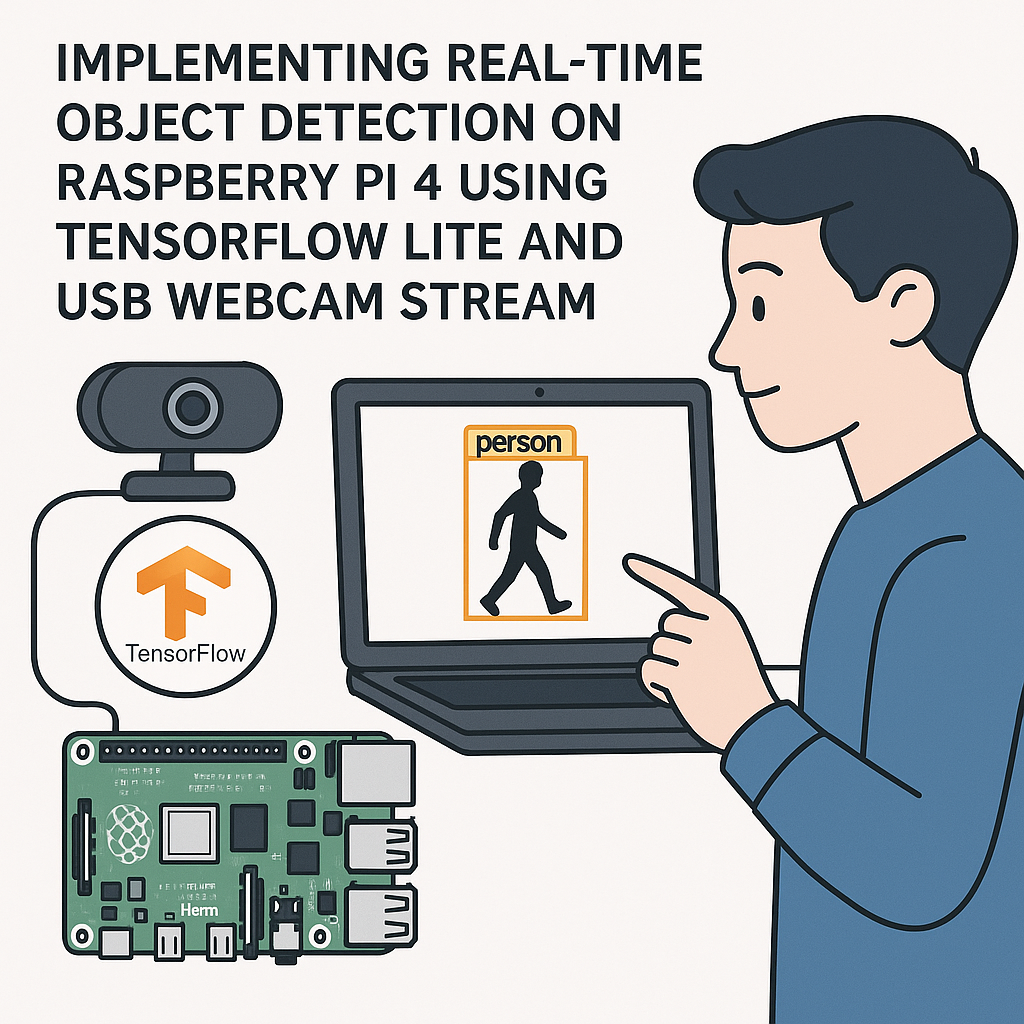
Running object detection on a Raspberry Pi is one of those projects that sounds harder than it actually is. TensorFlow Lite makes it surprisingly approachable — you can get a live webcam feed with bounding boxes drawn around detected objects in under an hour. Whether you're building a security camera, a robot that reacts to its environment, or just want to see ML inference running on a $50 board, this is a great starting point.
This guide targets the Raspberry Pi 5 (though a Pi 4 works fine too — just expect lower frame rates). We'll use a USB webcam, a pre-trained MobileNet SSD model, and Python with OpenCV for the video pipeline.
Prerequisites
- Raspberry Pi 5 or Pi 4 running Raspberry Pi OS (Bookworm or later)
- USB webcam that works with Linux (most UVC-compatible webcams do)
- Internet connection for installing packages
- Comfortable with Python basics and the command line
- Terminal access (directly or via SSH)
Parts and Tools
- Raspberry Pi 5 (or Pi 4)
- USB webcam
- Micro SD card — 32GB recommended (16GB minimum)
- USB-C power supply (27W for Pi 5, 15W for Pi 4)
- Keyboard and monitor, or SSH access
- Python 3.11+ (comes pre-installed on Raspberry Pi OS Bookworm)
Steps
- Update Your Raspberry Pi
Before installing anything, make sure your package list and installed packages are current. Stale packages are the #1 source of weird dependency errors on Pi.
sudo apt update && sudo apt upgrade -yThis might take a few minutes, especially if you haven't updated in a while.
- Install Required Libraries
You need OpenCV for grabbing and displaying video frames, and the TensorFlow Lite runtime for running inference. The full TensorFlow package is overkill for this — the
tflite-runtimepackage is much lighter and all you need on the Pi.sudo apt install python3-opencv -ypip3 install tflite-runtime --break-system-packagesOn Raspberry Pi OS Bookworm, pip requires the
--break-system-packagesflag or you need to use a virtual environment. If you prefer the cleaner route:python3 -m venv ~/tflite-env source ~/tflite-env/bin/activate pip install tflite-runtime opencv-python-headlessWatch out: if you're using a virtual environment, you'll need to activate it every time you open a new terminal session before running the script.
- Connect the USB Webcam
Plug your webcam into a USB port. Then verify the system sees it:
ls /dev/video*You should see
/dev/video0(and possibly video1). If nothing shows up, try a different USB port or check if the webcam needs drivers. Most USB webcams are plug-and-play on Linux, but cheap knockoffs sometimes aren't. - Download a TensorFlow Lite Model
We'll use the EfficientDet-Lite0 model from the TensorFlow model zoo — it's a solid balance of speed and accuracy for Pi-class hardware. The older SSD MobileNet v2 also works and is slightly faster if you need every last frame.
wget https://storage.googleapis.com/download.tensorflow.org/models/tflite/task_library/object_detection/rpi/lite-model_efficientdet_lite0_detection_default_1.tflite -O detect.tfliteYou'll also want the COCO labels file so you can display class names:
wget https://raw.githubusercontent.com/tensorflow/models/master/research/object_detection/data/mscoco_label_map.pbtxt -O labels.txtTip: if you want to detect custom objects later, you can swap this model out for one you've fine-tuned with TFLite Model Maker. The rest of the pipeline stays identical.
- Create the Object Detection Script
Create a new Python file:
nano object_detection.pyPaste the following code. I've added comments explaining the non-obvious parts:
import cv2
import numpy as np
from tflite_runtime.interpreter import Interpreter

# Load the TFLite model and allocate tensors
interpreter = Interpreter(model_path="detect.tflite")
interpreter.allocate_tensors()

# Get input/output tensor details
input_details = interpreter.get_input_details()
output_details = interpreter.get_output_details()

# The model expects a specific input size - grab it dynamically
input_height = input_details[0]['shape'][1]
input_width = input_details[0]['shape'][2]

# Open webcam (0 = first USB camera)
cap = cv2.VideoCapture(0)

if not cap.isOpened():
    print("Error: Could not open webcam.")
    exit()

print("Press 'q' to quit.")

while True:
    ret, frame = cap.read()
    if not ret:
        print("Failed to grab frame.")
        break

    # Resize frame to model's expected input dimensions
    input_data = cv2.resize(frame, (input_width, input_height))
    input_data = np.expand_dims(input_data, axis=0).astype(np.uint8)

    # Run inference
    interpreter.set_tensor(input_details[0]['index'], input_data)
    interpreter.invoke()

    # Extract results
    boxes = interpreter.get_tensor(output_details[0]['index'])[0]
    classes = interpreter.get_tensor(output_details[1]['index'])[0]
    scores = interpreter.get_tensor(output_details[2]['index'])[0]

    # Draw bounding boxes for detections above 50% confidence
    h, w, _ = frame.shape
    for i in range(len(scores)):
        if scores[i] > 0.5:
            ymin, xmin, ymax, xmax = boxes[i]
            left = int(xmin * w)
            top = int(ymin * h)
            right = int(xmax * w)
            bottom = int(ymax * h)

            cv2.rectangle(frame, (left, top), (right, bottom), (0, 255, 0), 2)
            label = f"Class {int(classes[i])}: {scores[i]:.2f}"
            cv2.putText(frame, label, (left, top - 10),
                        cv2.FONT_HERSHEY_SIMPLEX, 0.5, (0, 255, 0), 2)

    cv2.imshow('Object Detection', frame)
    if cv2.waitKey(1) & 0xFF == ord('q'):
        break

cap.release()
cv2.destroyAllWindows()
Save with
Ctrl+O, then exit withCtrl+X. - Run It
python3 object_detection.pyYou should see a window pop up with the webcam feed and green bounding boxes drawn around any recognized objects. On a Pi 5, expect roughly 10-15 FPS with EfficientDet-Lite0. On a Pi 4, you'll get around 5-8 FPS.
If you're running headless via SSH, you won't be able to use
cv2.imshow(). In that case, you can modify the script to save output frames to disk or stream them over the network using Flask or MJPEG.
Troubleshooting
- Webcam not detected: Run
lsusbto confirm the device shows up at all. If it does but/dev/video0doesn't exist, you may need a different driver. Trysudo modprobe uvcvideo. - Model file not found: Double-check that
detect.tfliteis in the same directory where you're running the script. Usels -la detect.tfliteto verify. - Low frame rate: Lower the webcam resolution with
cap.set(cv2.CAP_PROP_FRAME_WIDTH, 640)andcap.set(cv2.CAP_PROP_FRAME_HEIGHT, 480). Also make sure you're not running other heavy processes. On Pi 4 specifically, consider using the lighter SSD MobileNet v2 model instead. - Import errors: If
tflite_runtimecan't be found, make sure you installed it in the correct Python environment. Runpython3 -c "import tflite_runtime"to test. - Display errors over SSH: You need X11 forwarding enabled (
ssh -X) or switch to headless output mode. Alternatively, use VNC.
Where to Go From Here
Once this is working, there are plenty of ways to extend it. Swap in a custom-trained model for your specific use case. Add MQTT publishing so detections trigger actions on other devices. Log detections to a database with timestamps. Or hook it up to a pan-tilt servo so the camera tracks objects. The inference pipeline you've built here is the foundation — the fun part is what you build on top of it.