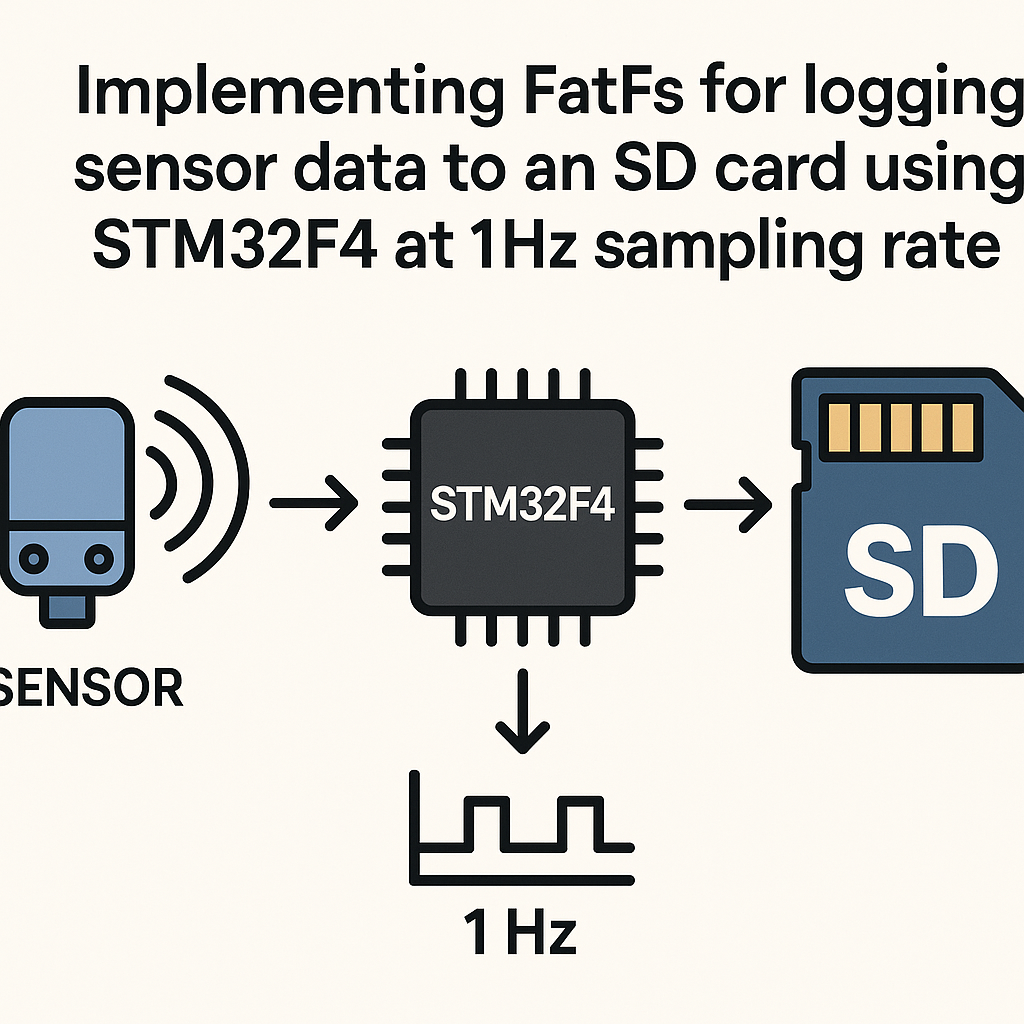
How to Implement FatFs for Logging Sensor Data to SD Card with STM32F4
Why FatFs + SD Card Logging?
SD card logging is one of those unglamorous but incredibly useful embedded features. You wire up a sensor, slap an SD card on SPI, and suddenly your STM32F4 can record hours (or days) of data without any network connection. FatFs is the go-to FAT file system library for microcontrollers -- it's lightweight, well-tested, and plays nicely with the STM32 HAL.
Here we'll set up a 1Hz sensor data logger using FatFs on an STM32F4. You'll end up with a clean .txt file on the SD card that you can pop into any computer and read directly.
What You'll Need
- STM32F4 development board (Nucleo or Discovery works great)
- SD card (8GB-32GB, formatted FAT32) and an SPI-compatible SD card module
- A sensor module -- temperature, humidity, accelerometer, whatever you want to log
- Jumper wires
- STM32CubeIDE v1.16+ installed on your PC
- Basic comfort with C and STM32 HAL programming
Setting Up the Project
Fire up STM32CubeIDE and create a new STM32 project targeting your specific F4 chip. The CubeMX code generator built into the IDE makes the initial peripheral setup much less painful than doing it by hand.
In the CubeMX pinout view, enable SPI1 in Full-Duplex Master mode. The default pins are usually fine (PA5 for SCK, PA6 for MISO, PA7 for MOSI), but double-check your board's schematic. You'll also need a GPIO output pin for the chip select line -- PA4 is a common choice.
// After CubeMX generates your code, you can manually control CS like this:
HAL_GPIO_WritePin(GPIOA, GPIO_PIN_4, GPIO_PIN_SET);   // CS high (deselect)
HAL_GPIO_WritePin(GPIOA, GPIO_PIN_4, GPIO_PIN_RESET); // CS low (select)
Watch out: SPI clock speed matters here. Start with a slow prescaler (like /256) for initialization, then bump it up after the SD card is initialized. Many SD cards won't respond to init commands at high speed.
Integrating FatFs
The easiest route in STM32CubeIDE is to enable FATFS as a middleware component right in CubeMX. Go to Middleware > FATFS and select "User-defined" (for SPI-based SD cards). This pulls in all the FatFs source files and generates the glue code stubs for you.
If you prefer to do it manually, grab FatFs from elm-chan.org and add ff.c, ff.h, diskio.c, and diskio.h to your project. You'll need to implement the low-level disk I/O functions in diskio.c yourself -- this is where your SPI read/write calls go.
Either way, include the headers in your main source file:
#include "ff.h"
#include "diskio.h"
Mounting the File System and Creating a Log File
Before you can do anything with FatFs, you need to mount the volume. Do this once at startup:
FATFS fs;
FRESULT fres;

fres = f_mount(&fs, "", 1);
if (fres != FR_OK) {
    // Mount failed -- check wiring, SD card format, SPI config
    Error_Handler();
}
That third argument (1) forces an immediate mount. If it returns FR_OK, your SD card is alive and the FAT table is readable.
Next, create (or open) your log file:
FIL logFile;

fres = f_open(&logFile, "log.txt", FA_WRITE | FA_CREATE_ALWAYS);
if (fres == FR_OK) {
    f_close(&logFile);
}
A gotcha here: FA_CREATE_ALWAYS will overwrite an existing file. If you want to keep old data across reboots, use FA_OPEN_APPEND instead. I usually create the file with a timestamp in the filename (like log_001.txt) so I never accidentally nuke previous data.
Reading Sensor Data and Logging at 1Hz
Your sensor reading function will depend on what you've got wired up. Here's a placeholder -- replace it with your actual I2C/SPI/ADC read:
float readSensorData(void) {
    // Replace with your actual sensor read
    // e.g., read temperature from a DHT22, BME280, etc.
    return sensorValue;
}
The logging function opens the file in append mode, writes one line, and closes it. Closing after every write is a bit slower but protects against data loss if power drops:
void logData(float data) {
    FIL fil;
    UINT bytesWritten;
    char buffer[64];

    if (f_open(&fil, "log.txt", FA_WRITE | FA_OPEN_APPEND) == FR_OK) {
        int len = sprintf(buffer, "%.2f\n", data);
        f_write(&fil, buffer, len, &bytesWritten);
        f_close(&fil);
    }
}
Then in your main loop, sample and log once per second:
while (1) {
    float data = readSensorData();
    logData(data);
    HAL_Delay(1000);
}
Pro tip: if you need more precise 1Hz timing, use a hardware timer interrupt instead of HAL_Delay. The delay approach drifts slightly because it doesn't account for the time spent reading the sensor and writing to the SD card.
Troubleshooting
- SD card not recognized: Triple-check your SPI wiring. Use a logic analyzer or scope on the SPI lines if you have one. Make sure the card is formatted FAT32 -- exFAT won't work with standard FatFs. Also verify your CS pin is actually toggling.
- f_mount returns FR_DISK_ERR: Usually a low-level SPI issue. Verify your
diskio.cimplementation is correctly sending CMD0 and CMD8 during initialization. Slow down the SPI clock for init. - File created but empty: You're probably not calling
f_close(), or thef_write()bytesWritten count is zero. Always check return values. - Data corruption after many writes: SD cards have write endurance limits and FatFs updates the FAT table on every close. For very high-frequency logging, consider buffering multiple readings and writing in batches.
Where to Go From Here
A basic 1Hz logger is a solid starting point. From here you could add timestamps (grab an RTC or use HAL_GetTick()), rotate log files when they hit a size limit, or add a CSV header so the file opens cleanly in a spreadsheet. If you're logging at higher rates, look into using SDIO instead of SPI -- it's significantly faster on the STM32F4 and the HAL has good support for it.