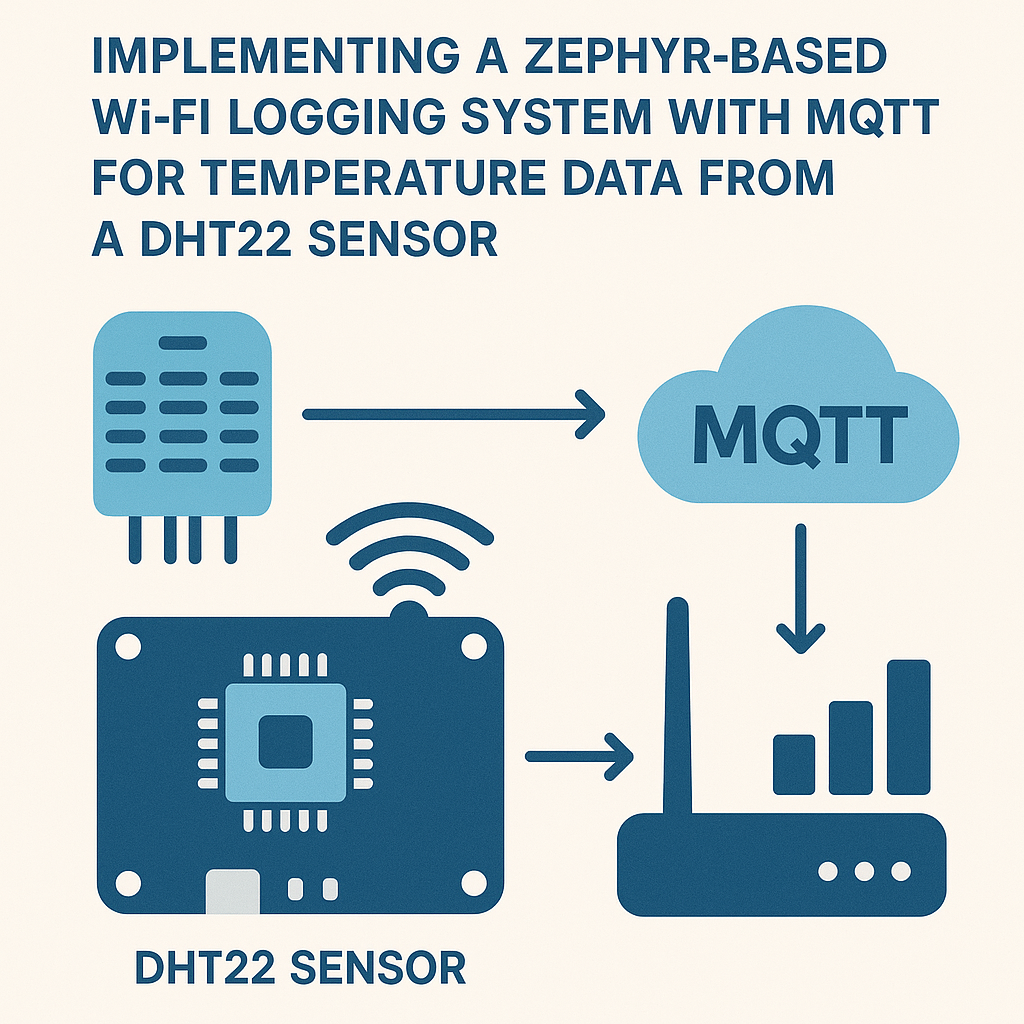
How to Implement a Zephyr Wi-Fi Logging System with MQTT for DHT22 Data
Introduction
Remote temperature monitoring is one of those "hello world" IoT projects that actually turns out to be useful. You wire up a DHT22, push readings over Wi-Fi to an MQTT broker, and suddenly you've got a system you can query from anywhere on your network. Zephyr RTOS (v3.7+) makes this surprisingly clean because its sensor API and networking stack are already designed to work together.
The approach here: read temperature from a DHT22 on an ESP32, connect to Wi-Fi, and publish the data to an MQTT topic at regular intervals. Simple concept, but the Zephyr configuration has a few quirks worth knowing about.
Prerequisites
- Working knowledge of C programming
- Some familiarity with Zephyr RTOS concepts (devicetree, Kconfig)
- A DHT22 temperature/humidity sensor
- An ESP32 development board (or another Zephyr-supported board with Wi-Fi)
- An MQTT broker running on your network (Mosquitto is the go-to choice)
- Zephyr SDK and west tool installed
Parts/Tools
- DHT22 Temperature Sensor
- ESP32 Development Board
- Jumper wires
- Computer with Zephyr SDK installed (v0.16+)
- MQTT Broker (Mosquitto recommended)
Steps
-
Set Up the Hardware
- Wire the DHT22 to the ESP32:
- VCC to 3.3V
- GND to Ground
- DATA to a GPIO pin (e.g., GPIO 23)
- A 10k pull-up resistor between DATA and VCC is technically optional on some DHT22 breakout boards (they have one built in), but add one if you're getting flaky readings. The DHT22 protocol is timing-sensitive, and a weak pull-up causes intermittent failures that are annoying to debug.
- Make sure the ESP32 is powered and connected to your computer via USB.
-
Configure the Zephyr Project
- Create a new Zephyr workspace. If you already have a Zephyr installation, you can skip the init/update steps:
- Create your application folder structure:
- Set up your CMakeLists.txt. Note that Zephyr v3.7+ uses
find_package(Zephyr)instead of the older boilerplate include:
mkdir zephyr_wifi_logging cd zephyr_wifi_logging west init west updatemkdir -p app/src cd appcmake_minimum_required(VERSION 3.20) find_package(Zephyr REQUIRED HINTS $ENV{ZEPHYR_BASE}) project(zephyr_wifi_logging) target_sources(app PRIVATE src/main.c)Watch out: the old
boilerplate.cmakeapproach you might see in older tutorials is deprecated. Always usefind_package(Zephyr)with current Zephyr versions. -
Write the Main Application Code
- Create
src/main.cand include the headers you'll need: - Initialize the DHT22 sensor and MQTT client. Zephyr v3.7+ uses devicetree-based device access rather than string-based binding:
- Implement the temperature reading function:
- Publish the temperature data to your MQTT broker:
#include <zephyr/kernel.h> #include <zephyr/device.h> #include <zephyr/drivers/sensor.h> #include <zephyr/net/wifi_mgmt.h> #include <zephyr/net/mqtt.h> #include <zephyr/logging/log.h>const struct device *sensor = DEVICE_DT_GET_ONE(aosong_dht); int main(void) { if (!device_is_ready(sensor)) { LOG_ERR("DHT22 sensor not ready"); return -1; } // Initialize MQTT client and connection parameters }Tip:
device_get_binding()still works but is considered legacy. The devicetree macros give you compile-time checking, which catches wiring mistakes before you even flash.float read_temperature(const struct device *sensor) { struct sensor_value temp; int ret = sensor_sample_fetch(sensor); if (ret != 0) { LOG_WRN("Failed to fetch sensor sample: %d", ret); return -999.0f; // sentinel value } sensor_channel_get(sensor, SENSOR_CHAN_AMBIENT_TEMP, &temp); return sensor_value_to_float(&temp); }Always check the return value of
sensor_sample_fetch(). The DHT22 needs about 2 seconds between reads, and calling it too fast returns errors silently if you don't check.void publish_temperature(struct mqtt_client *client, float temperature) { char payload[32]; snprintf(payload, sizeof(payload), "{\"temp\": %.1f}", temperature); struct mqtt_publish_param param = { .message.topic.qos = MQTT_QOS_1_AT_LEAST_ONCE, .message.topic.topic.utf8 = "sensor/dht22/temperature", .message.topic.topic.size = strlen("sensor/dht22/temperature"), .message.payload.data = payload, .message.payload.len = strlen(payload), }; mqtt_publish(client, ¶m); }I prefer sending JSON payloads even for simple values. It costs almost nothing in bandwidth but makes the data much easier to parse on the receiving end.
- Create
-
Configure Network Settings
- Add these to your
prj.conffile: - Wi-Fi credentials should go in a separate overlay or be set at build time rather than hardcoded in
prj.conf. You can pass them as build arguments: - Double-check your MQTT broker IP and port in the code. A common mistake is pointing at
localhostinstead of the actual broker IP on your network.
CONFIG_WIFI=y CONFIG_NET_L2_WIFI_MGMT=y CONFIG_MQTT_LIB=y CONFIG_SENSOR=y CONFIG_DHT=y CONFIG_LOG=ywest build -- -DCONFIG_WIFI_CREDENTIALS_STATIC_SSID="Your_SSID" \ -DCONFIG_WIFI_CREDENTIALS_STATIC_PASSWORD="Your_Password" - Add these to your
-
Build and Flash the Application
- Build for the ESP32 target:
- Flash to the ESP32:
- Monitor the serial output to confirm Wi-Fi connects and MQTT publishes are going through:
west build -b esp32_devkitc_wroom appNote: the board name format changed in recent Zephyr versions. Use
west boards | grep esp32to find the exact name for your board variant.west flashwest espressif monitor
Troubleshooting
- Sensor reads return errors or garbage values: The DHT22 is notoriously timing-sensitive. Make sure you're not reading faster than every 2 seconds. Also check that your pull-up resistor is in place and the wire run isn't too long (keep it under 1 meter for reliable readings).
- Wi-Fi won't connect: Verify your SSID and password are correct (case-sensitive). Some ESP32 modules only support 2.4GHz networks, so make sure you're not trying to connect to a 5GHz band.
- MQTT connection refused: Confirm the broker is running (
systemctl status mosquittoon Linux) and that it's configured to accept connections from your network, not just localhost. Check the broker's listener config. - Build fails with missing symbols: You're probably missing a Kconfig option in
prj.conf. The error messages from Zephyr builds can be cryptic, but they usually point to the missing config symbol if you read them carefully.
Conclusion
You now have a Zephyr-based temperature logger pushing DHT22 readings to MQTT over Wi-Fi. From here, the natural next steps are adding humidity data (the DHT22 already provides it), implementing a reconnection strategy for when Wi-Fi drops, or hooking up a subscriber on the other end to store readings in a database. You could also swap the DHT22 for a BME280 if you want faster, more accurate readings—the Zephyr sensor API makes that a mostly config-level change.