How to Implement a UART Bootloader for STM32 with DFU Firmware Update
Building a UART Bootloader for STM32 with DFU Firmware Update
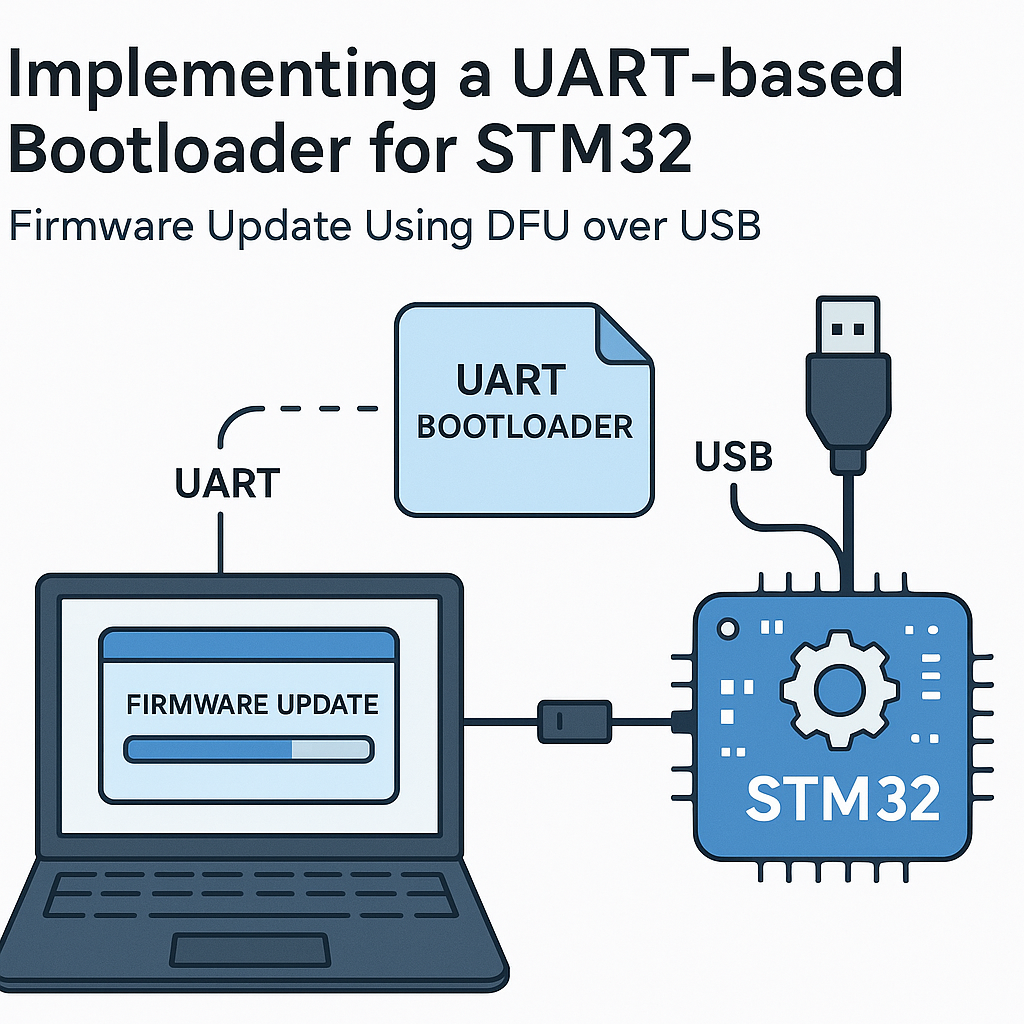
Shipping a device without a field-update mechanism is asking for trouble. A bootloader lets you push new firmware over UART (or USB DFU) without needing physical access to the SWD/JTAG header. On STM32, you have two main paths: use ST's built-in system bootloader in ROM, or write your own custom bootloader that gives you full control over the update protocol, security checks, and rollback logic.
This guide walks through building a custom UART bootloader that receives firmware over serial and writes it to flash. We'll also touch on USB DFU integration since many STM32 boards expose a USB port you can use for the same purpose.
Prerequisites
- Solid understanding of STM32 flash memory layout (sectors, pages, and write alignment)
- Comfortable with C and the STM32 HAL
- STM32 dev board — Nucleo-F446RE, STM32F4 Discovery, or similar
- STM32CubeIDE v1.16+ installed and working
- USB-to-UART adapter (if your board doesn't have an onboard ST-Link virtual COM port)
- STM32CubeProgrammer for verifying flash contents and testing DFU mode
Parts and Tools
- STM32 development board
- USB-to-UART adapter (CP2102, CH340, or FTDI-based)
- STM32CubeIDE v1.16+
- STM32CubeProgrammer (for verification and DFU testing)
- Terminal program — PuTTY, minicom, or the serial monitor in STM32CubeIDE
Steps
-
Plan Your Flash Memory Layout
Before writing any code, decide where the bootloader and application will live in flash. A typical layout on an STM32F4 with 1 MB flash:
/* Flash layout example for STM32F446 (1MB) */
#define BOOTLOADER_START  0x08000000  /* Sector 0-1: 32KB for bootloader */
#define APP_START         0x08008000  /* Sector 2+: application firmware */
#define APP_MAX_SIZE      0x000F8000  /* ~992KB for the app */
The bootloader occupies the first sectors and the vector table for your application starts at APP_START. Get this layout wrong and nothing works — the MCU always boots from 0x08000000, so the bootloader must live there.
-
Create the Bootloader Project
In STM32CubeIDE, create a new project for your target MCU. In the .ioc file, enable USART2 (or whichever UART is connected to your debug/serial interface) at 115200 baud, 8N1. Also enable any GPIO you want for a "stay in bootloader" trigger — a button press on boot is the classic approach.
Under Project Manager, set the linker to place code starting at 0x08000000 and limit the size to your bootloader region (e.g., 32KB).
-
Implement the Bootloader Logic
The bootloader runs at power-on and makes a simple decision: update firmware or jump to the existing application.
#include "stm32f4xx_hal.h"
#include <string.h>

#define APP_ADDRESS       0x08008000U
#define UART_TIMEOUT_MS   3000
#define SYNC_BYTE         0x7F
#define ACK               0x79
#define NACK              0x1F

typedef void (*pFunction)(void);

void Jump_To_App(void) {
    uint32_t app_stack = *(volatile uint32_t *)APP_ADDRESS;
    uint32_t app_entry = *(volatile uint32_t *)(APP_ADDRESS + 4);

    /* Basic sanity check: stack pointer should be in RAM */
    if ((app_stack & 0x2FFE0000) == 0x20000000) {
        __set_MSP(app_stack);
        pFunction app_reset = (pFunction)app_entry;
        app_reset();
    }
    /* If sanity check fails, stay in bootloader */
}

void Bootloader_Main(void) {
    HAL_Init();
    SystemClock_Config();
    MX_USART2_UART_Init();

    uint8_t sync = 0;
    /* Wait briefly for a sync byte from the host */
    if (HAL_UART_Receive(&huart2, &sync, 1, UART_TIMEOUT_MS) == HAL_OK
        && sync == SYNC_BYTE) {
        uint8_t ack = ACK;
        HAL_UART_Transmit(&huart2, &ack, 1, 100);
        Receive_And_Flash_Firmware();
    }

    /* No sync received — jump to app */
    Jump_To_App();
}
The sanity check on the stack pointer is a quick way to detect whether valid application firmware is present. If the first word at APP_ADDRESS doesn't look like a RAM address, the bootloader stays put and waits for firmware.
-
Implement the Firmware Receive and Flash Write
This is where the real work happens. Receive firmware in chunks over UART, erase the target flash sectors, and write the data:
void Receive_And_Flash_Firmware(void) { uint8_t buffer[256]; uint32_t write_addr = APP_ADDRESS; /* Erase application sectors first */ HAL_FLASH_Unlock(); FLASH_EraseInitTypeDef erase_cfg; erase_cfg.TypeErase = FLASH_TYPEERASE_SECTORS; erase_cfg.Sector = FLASH_SECTOR_2; /* First app sector */ erase_cfg.NbSectors = 6; /* Adjust for your layout */ erase_cfg.VoltageRange = FLASH_VOLTAGE_RANGE_3; uint32_t sector_error = 0; HAL_FLASHEx_Erase(&erase_cfg, §or_error); /* Receive and write loop */ while (1) { uint16_t chunk_size = 0; HAL_UART_Receive(&huart2, (uint8_t *)&chunk_size, 2, 5000); if (chunk_size == 0 || chunk_size > sizeof(buffer)) break; HAL_UART_Receive(&huart2, buffer, chunk_size, 5000); for (uint16_t i = 0; i < chunk_size; i += 4) { uint32_t word = *(uint32_t *)&buffer[i]; HAL_FLASH_Program(FLASH_TYPEPROGRAM_WORD, write_addr, word); write_addr += 4; } uint8_t ack = ACK; HAL_UART_Transmit(&huart2, &ack, 1, 100); } HAL_FLASH_Lock(); }Watch out: STM32F4 flash writes must be word-aligned (4 bytes). If your firmware image size isn't a multiple of 4, pad the last chunk. Also, never write to flash while executing code from the same flash bank — on single-bank devices, the CPU stalls during write. This is fine for a bootloader (it just waits), but be aware of it.
-
Configure the Application Project
Your application firmware needs its own project with modified linker settings. The key changes:
/* In your application's linker script (.ld file), change FLASH origin: */
FLASH (rx) : ORIGIN = 0x08008000, LENGTH = 992K

/* In system_stm32f4xx.c or your startup code: */
SCB->VTOR = 0x08008000;  /* Relocate vector table */
Forgetting the VTOR relocation is the number-one reason application code crashes after a bootloader jump. Your interrupts will fire into the bootloader's vector table instead of the app's.
-
Build and Flash the Bootloader
Compile the bootloader project and flash it via ST-Link using STM32CubeIDE's built-in debugger. Verify with STM32CubeProgrammer that it occupies only the expected flash region.
-
Test the Full Flow
Power up the board. If no sync byte arrives within the timeout, the bootloader should jump to the application (assuming one is present). To test the update path:
- Open a serial terminal at 115200 baud
- Send the sync byte (0x7F) within the timeout window
- Wait for the ACK (0x79)
- Send your application binary in 256-byte chunks with the size prefix
- Send a zero-length chunk to signal completion
- The bootloader should jump to the new application
Tip: write a simple Python script to automate the host side. Doing this manually in a terminal is error-prone and tedious.
-
Adding USB DFU (Optional)
If your board has USB, you can add DFU support alongside UART. STM32CubeMX can generate USB DFU class middleware. The bootloader checks for a DFU trigger (button held at boot, or a magic value in RAM set by the application before resetting), then enumerates as a USB DFU device. STM32CubeProgrammer and dfu-util can then push firmware over USB.
This is more complex but gives you a second update channel that doesn't require a serial adapter on the user's end.
Troubleshooting
- Bootloader doesn't respond to sync byte: Verify UART wiring (TX/RX crossed correctly) and baud rate settings. Use a scope or logic analyzer to confirm data is actually arriving at the MCU's RX pin.
- Application crashes after jump: Almost certainly a VTOR problem. Make sure SCB->VTOR is set to your application's start address before enabling interrupts. Also check that the linker script FLASH origin matches.
- Flash write fails or data is corrupted: Confirm you're erasing the correct sectors before writing. STM32F4 requires sector erase (not page erase like F0/F1). Also ensure the voltage range in the erase config matches your board's supply voltage.
- DFU device not recognized on PC: Install the WinUSB driver (use Zadig on Windows) or check that your USB descriptors are correct. On Linux, dfu-util should detect it without extra drivers.
- Bootloader overwrites itself: Double-check your flash layout constants. The write address must never fall within the bootloader's own flash region.
Security Considerations
A bare UART bootloader with no authentication means anyone with serial access can reflash your device. For production, consider adding a CRC32 or SHA-256 check on the received firmware, a shared secret or challenge-response authentication before accepting updates, and read-out protection (RDP) on the bootloader flash sectors. For more robust secure boot, look into MCUboot, which is well-established for STM32 and other ARM Cortex-M targets and handles image signing, verification, and rollback.