How to Connect ESP32 to AWS IoT Core via MQTT for Secure Temperature Data
ESP32 Meets the Cloud
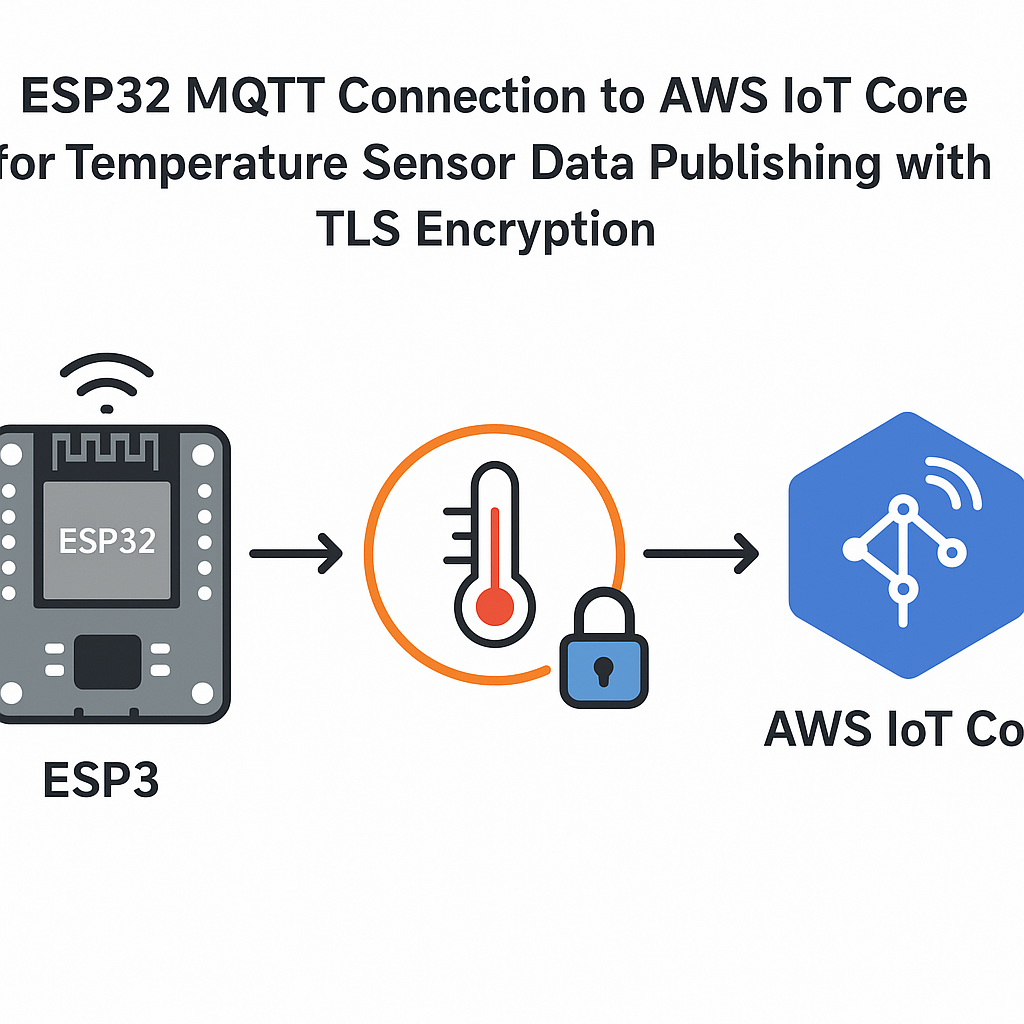
Sending sensor data from an ESP32 to AWS IoT Core over MQTT with TLS is one of the most practical IoT patterns you'll build. Once it's working, you've got a secure pipeline from a $5 microcontroller straight into the AWS ecosystem -- DynamoDB, Lambda, CloudWatch, whatever you need downstream.
The tricky part isn't the code itself. It's getting the certificates right and making sure your AWS IoT policy actually permits what your device is trying to do. This guide walks through the whole thing.
Prerequisites
- Familiarity with Arduino-style C/C++ development
- Arduino IDE 2.x installed with ESP32 board support (Arduino ESP32 core v3.x)
- An AWS account with access to AWS IoT Core
- A Wi-Fi network your ESP32 can reach
Parts/Tools
- ESP32 development board (any variant -- DevKit, WROOM, S3, etc.)
- Temperature sensor: DHT11/DHT22 or DS18B20
- Jumper wires and breadboard
- Computer with Arduino IDE 2.x
Steps
- Set Up AWS IoT Core
- Log into the AWS Console and navigate to IoT Core.
- Go to Manage > All devices > Things and create a new Thing. Give it a descriptive name like
esp32-temp-sensor-01. - During Thing creation, choose Auto-generate a new certificate. Download all four files:
- Device certificate (.pem.crt)
- Private key (.pem.key)
- Public key (you won't use this directly, but keep it)
- Amazon Root CA 1
- Create and attach an IoT policy. Here's a reasonable starting policy:
{
    "Version": "2012-10-17",
    "Statement": [
        {
            "Effect": "Allow",
            "Action": [
                "iot:Connect"
            ],
            "Resource": "arn:aws:iot:REGION:ACCOUNT_ID:client/esp32-temp-sensor-01"
        },
        {
            "Effect": "Allow",
            "Action": [
                "iot:Publish"
            ],
            "Resource": "arn:aws:iot:REGION:ACCOUNT_ID:topic/sensors/temperature"
        }
    ]
}
Watch out: using
"Resource": "*"works for testing, but never ship that to production. Scope your policies to specific client IDs and topics. - Make sure the certificate is Active and attached to both the Thing and the policy. This three-way attachment (Thing + Certificate + Policy) is where most people get stuck.
- Wire Up the Temperature Sensor
For a DHT11/DHT22: connect VCC to 3.3V, GND to GND, and the data pin to GPIO 4. Some DHT breakout boards have a built-in pull-up resistor; if yours doesn't, add a 10k resistor between VCC and data.
For a DS18B20: same power connections, data to GPIO 4, but you need a 4.7k pull-up resistor between VCC and the data line. The DS18B20 is more accurate and I generally prefer it for anything beyond basic demos.
- Install Required Libraries
In Arduino IDE 2.x, go to Tools > Manage Libraries and install:
- PubSubClient by Nick O'Leary (MQTT client)
- DHT sensor library by Adafruit (if using DHT11/DHT22)
- OneWire + DallasTemperature (if using DS18B20)
Make sure your ESP32 board package is up to date (v3.x of the Arduino ESP32 core). The older 2.x core had some TLS issues that are resolved now.
- Write the Firmware
Here's the structure. Start with your includes and credentials:
#include <WiFi.h>
#include <WiFiClientSecure.h>
#include <PubSubClient.h>
#include <DHT.h>

#define DHT_PIN 4
#define DHT_TYPE DHT11

const char* ssid = "YOUR_WIFI_SSID";
const char* password = "YOUR_WIFI_PASSWORD";
const char* mqtt_server = "xxxxxxxxxx-ats.iot.us-east-1.amazonaws.com";
const int mqtt_port = 8883;
const char* mqtt_client_id = "esp32-temp-sensor-01";
const char* mqtt_topic = "sensors/temperature";

// Paste your certificates as string literals
const char* root_ca = R"EOF(
-----BEGIN CERTIFICATE-----
... your Amazon Root CA 1 ...
-----END CERTIFICATE-----
)EOF";

const char* device_cert = R"EOF(
-----BEGIN CERTIFICATE-----
... your device certificate ...
-----END CERTIFICATE-----
)EOF";

const char* device_key = R"EOF(
-----BEGIN RSA PRIVATE KEY-----
... your private key ...
-----END RSA PRIVATE KEY-----
)EOF";
Using C++ raw string literals (
R"EOF(...)EOF") for the certs avoids the headache of escaping newlines.Now set up the connections:
WiFiClientSecure net;
PubSubClient client(net);
DHT dht(DHT_PIN, DHT_TYPE);

void connectWiFi() {
    WiFi.begin(ssid, password);
    while (WiFi.status() != WL_CONNECTED) {
        delay(500);
        Serial.print(".");
    }
    Serial.println("\nWiFi connected");
}

void connectMQTT() {
    while (!client.connected()) {
        Serial.print("Connecting to AWS IoT...");
        if (client.connect(mqtt_client_id)) {
            Serial.println("connected");
        } else {
            Serial.printf("failed, rc=%d. Retrying in 5s...\n", client.state());
            delay(5000);
        }
    }
}

void setup() {
    Serial.begin(115200);
    dht.begin();

    net.setCACert(root_ca);
    net.setCertificate(device_cert);
    net.setPrivateKey(device_key);
    client.setServer(mqtt_server, mqtt_port);

    connectWiFi();
    connectMQTT();
}

void loop() {
    if (!client.connected()) {
        connectMQTT();
    }
    client.loop();

    float temp = dht.readTemperature();
    if (isnan(temp)) {
        Serial.println("Failed to read from DHT sensor");
        return;
    }

    char payload[64];
    snprintf(payload, sizeof(payload),
             "{\"temperature\": %.1f, \"unit\": \"C\"}", temp);

    client.publish(mqtt_topic, payload);
    Serial.printf("Published: %s\n", payload);

    delay(60000);
}
A few things to note: always send JSON payloads rather than raw floats. It makes your data much easier to work with in AWS IoT Rules, Lambda, or any downstream consumer. Also, check for
isnan()on your sensor reads -- DHT sensors occasionally return garbage. - Upload and Test
- In Arduino IDE 2.x, select your board (ESP32 Dev Module or your specific variant) and the correct serial port.
- Upload the sketch and open the Serial Monitor at 115200 baud.
- You should see Wi-Fi connection, then MQTT connection, then published messages.
- Verify on the AWS Side
- In the AWS IoT Console, go to MQTT test client.
- Subscribe to
sensors/temperature. - You should see JSON payloads arriving every 60 seconds.
If nothing shows up, check the Logs section in IoT Core (you may need to enable CloudWatch logging first). The error messages there are much more helpful than anything you'll see on the ESP32 side.
Troubleshooting
- MQTT connection returns rc=-2: This usually means the TLS handshake failed. Double-check that all three certificate strings are correct and complete (including the BEGIN/END lines). Also verify your AWS endpoint URL.
- Wi-Fi connects but MQTT doesn't: Your IoT policy might not allow
iot:Connectfor your client ID. Check the policy resource ARN matches exactly. - Intermittent disconnections: The default PubSubClient keep-alive is 15 seconds. If your publish interval is long, the broker may drop you. Set
client.setKeepAlive(120)to increase it. - Certificate errors after ESP32 core update: The Arduino ESP32 core v3.x changed some WiFiClientSecure internals. Make sure you're using
setCACert()and not the deprecatedsetCACertBundle()for individual certs.
Next Steps
You've got a secure data pipeline from hardware to cloud. From here, set up an AWS IoT Rule to route data into DynamoDB or trigger a Lambda function. Add a timestamp to your payload (sync time with NTP using configTime()). And if you're running on battery, look into ESP32 deep sleep to wake, publish, and go back to sleep -- you can get months of battery life that way.