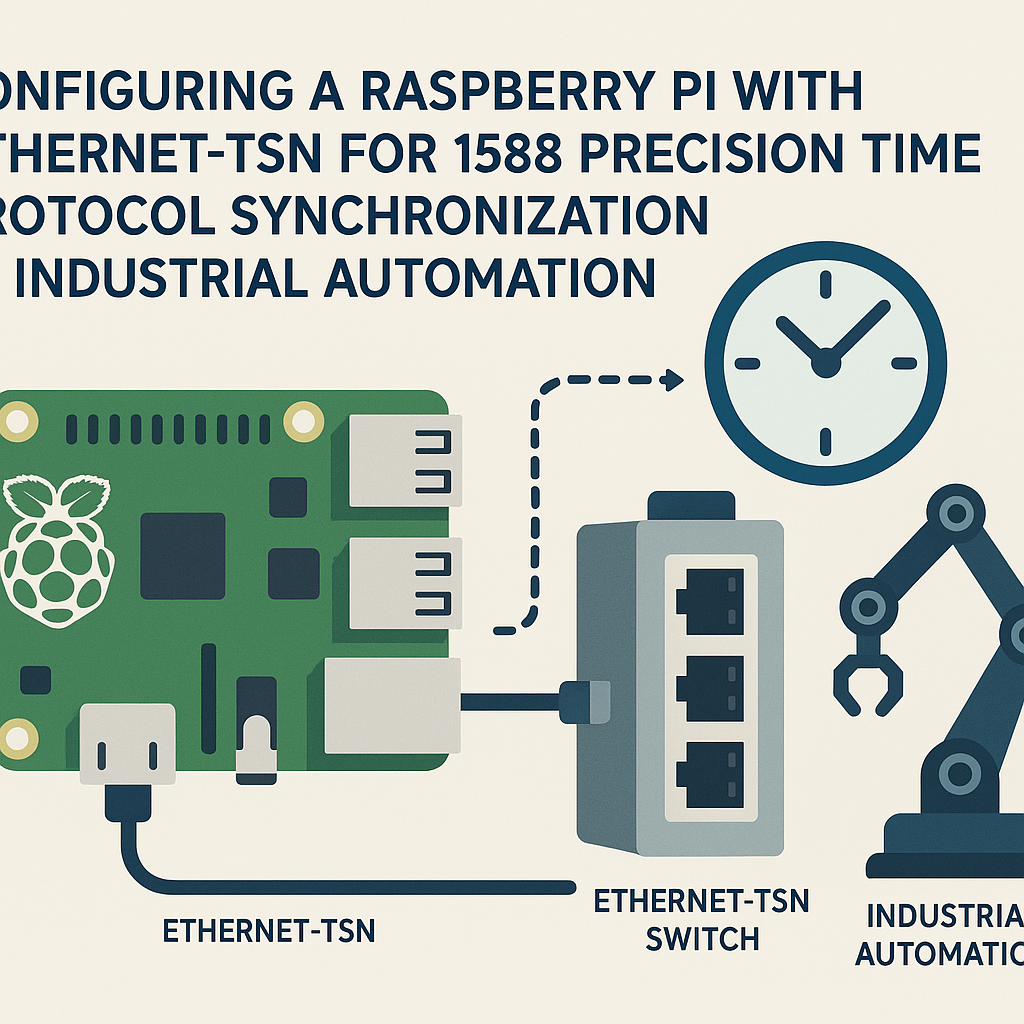
How to Configure Raspberry Pi for Ethernet-TSN and PTP Synchronization
Why PTP on a Raspberry Pi?
If you need devices on a network to agree on what time it is — down to sub-microsecond accuracy — NTP won't cut it. The IEEE 1588 Precision Time Protocol (PTP) was built for exactly this: tight time synchronization over Ethernet, and it's the backbone of Time-Sensitive Networking (TSN) in industrial automation. The Raspberry Pi can act as a PTP slave (or even grandmaster in a pinch) with the right software stack, making it a cheap way to prototype TSN-aware systems or add synchronized sensing to an industrial network.
Fair warning: the Pi's built-in Ethernet controller doesn't support hardware timestamping (the PHY/MAC doesn't tag packets in hardware), so you're limited to software timestamps. That gets you microsecond-range accuracy, not nanosecond. For many prototyping and monitoring use cases, that's plenty. For production TSN with hard real-time requirements, you'll need dedicated TSN-capable hardware.
Prerequisites
- Raspberry Pi 4 or Pi 5 (the Pi 5 has a better Ethernet controller and is the current model as of 2026; Pi 3's 100Mbps USB-attached Ethernet is really not ideal for this)
- Raspberry Pi OS installed (64-bit Lite recommended for headless setups)
- Ethernet cable (direct or through a TSN-capable switch)
- Terminal access (SSH or keyboard/monitor)
- Comfortable with basic Linux command-line usage
Parts/Tools
- Raspberry Pi 4 or 5
- MicroSD card (16GB+ recommended)
- USB-C power supply (5V/3A minimum for Pi 4, 5V/5A for Pi 5)
- Ethernet cable
- Another computer for SSH access
- At least one other PTP-capable device on the network (otherwise there's nothing to sync to)
Steps
Step 1: Initial Pi Setup
- Flash Raspberry Pi OS to your SD card using the Raspberry Pi Imager. Enable SSH during the flashing process (you can pre-configure it in the Imager's settings now — no more fiddling with empty files on the boot partition).
- Boot the Pi, connect Ethernet, and SSH in:
ssh pi@<your-pi-ip-address>Heads up: the default user/password setup changed in recent Pi OS releases. If you used Raspberry Pi Imager, you set the username and password during flashing. The old default "pi/raspberry" no longer works on fresh installs.
Step 2: Update the System
- Get everything current before installing PTP tools:
sudo apt update && sudo apt upgrade -yStep 3: Install linuxptp
The linuxptp package is what you want. It includes ptp4l (the PTP daemon) and phc2sys (for syncing the system clock to the PTP hardware clock). Skip ptpd — linuxptp is the actively maintained, widely-used implementation on Linux.
- Install it:
sudo apt install linuxptp -yStep 4: Configure ptp4l
- The default config lives at
/etc/linuxptp/ptp4l.conf. Open it: - For a basic slave configuration, these settings work well. Adjust
domainNumberto match your network's PTP domain: - Save and exit (Ctrl+X, Y, Enter).
sudo nano /etc/linuxptp/ptp4l.conf[global]
domainNumber 0
slaveOnly 1
time_stamping software
tx_timestamp_timeout 10
logging_level 6
summary_interval 1
[eth0]
The slaveOnly 1 line tells ptp4l this Pi should never try to become the grandmaster clock. The time_stamping software line is required since the Pi's NIC lacks hardware timestamping support. Replace eth0 with your actual interface name (check with ip link).
Step 5: Start ptp4l
- Run it manually first to make sure things work before setting up a service:
- Once you've verified it works, enable it as a systemd service for automatic startup:
sudo ptp4l -i eth0 -f /etc/linuxptp/ptp4l.conf -mThe -m flag prints output to the terminal so you can see what's happening. You should see it discover the grandmaster clock and start reporting offset values.
sudo systemctl enable ptp4l
sudo systemctl start ptp4l
Step 6: Sync System Clock with phc2sys
ptp4l syncs the PTP clock, but your system clock (the one applications use) is separate. Use phc2sys to bridge them:
- Run phc2sys to sync the system clock from the PTP clock:
sudo phc2sys -s eth0 -w -mThe -w flag tells it to wait until ptp4l has locked onto the grandmaster before starting synchronization.
Step 7: Verify Synchronization
- Check that ptp4l is running and reporting offsets:
- Look at the ptp4l log output. You want to see the offset value (in nanoseconds) getting smaller and stabilizing. With software timestamping on a Pi, expect offsets in the range of 10-100 microseconds once settled:
sudo systemctl status ptp4ljournalctl -u ptp4l -fTroubleshooting
- Can't SSH into the Pi: Verify the Pi has booted and obtained an IP address. Check your router's DHCP lease table, or connect a monitor to see what's going on.
- ptp4l won't start: Check the config file syntax — YAML-style colons vs. spaces can trip you up. Run
journalctl -u ptp4l -efor detailed error messages. - Offset values aren't converging: Make sure the other end is actually running PTP on the same domain number. If you're going through a non-PTP-aware switch, you'll get worse accuracy (boundary clocks or transparent clocks help enormously). Also verify you specified
time_stamping software— if ptp4l tries hardware timestamping and fails, it'll silently produce garbage results. - Large offset spikes: Network congestion and CPU load on the Pi can both cause timestamp jitter. On a Pi 5, things are noticeably better than on a Pi 4 due to the improved Ethernet path.
What's Next
You've got basic PTP synchronization running on a Pi. From here, you could add a TSN-capable USB Ethernet adapter (some Intel i210/i225-based adapters support hardware timestamping and are Linux-friendly) to get nanosecond-class accuracy. For actual TSN traffic shaping (time-aware scheduling via IEEE 802.1Qbv), you'll need kernel support and a NIC that supports the tc-taprio queueing discipline. The Pi itself isn't a TSN endpoint in the strict sense, but it makes an excellent monitoring node or prototype platform for understanding PTP behavior before you invest in industrial TSN hardware.